
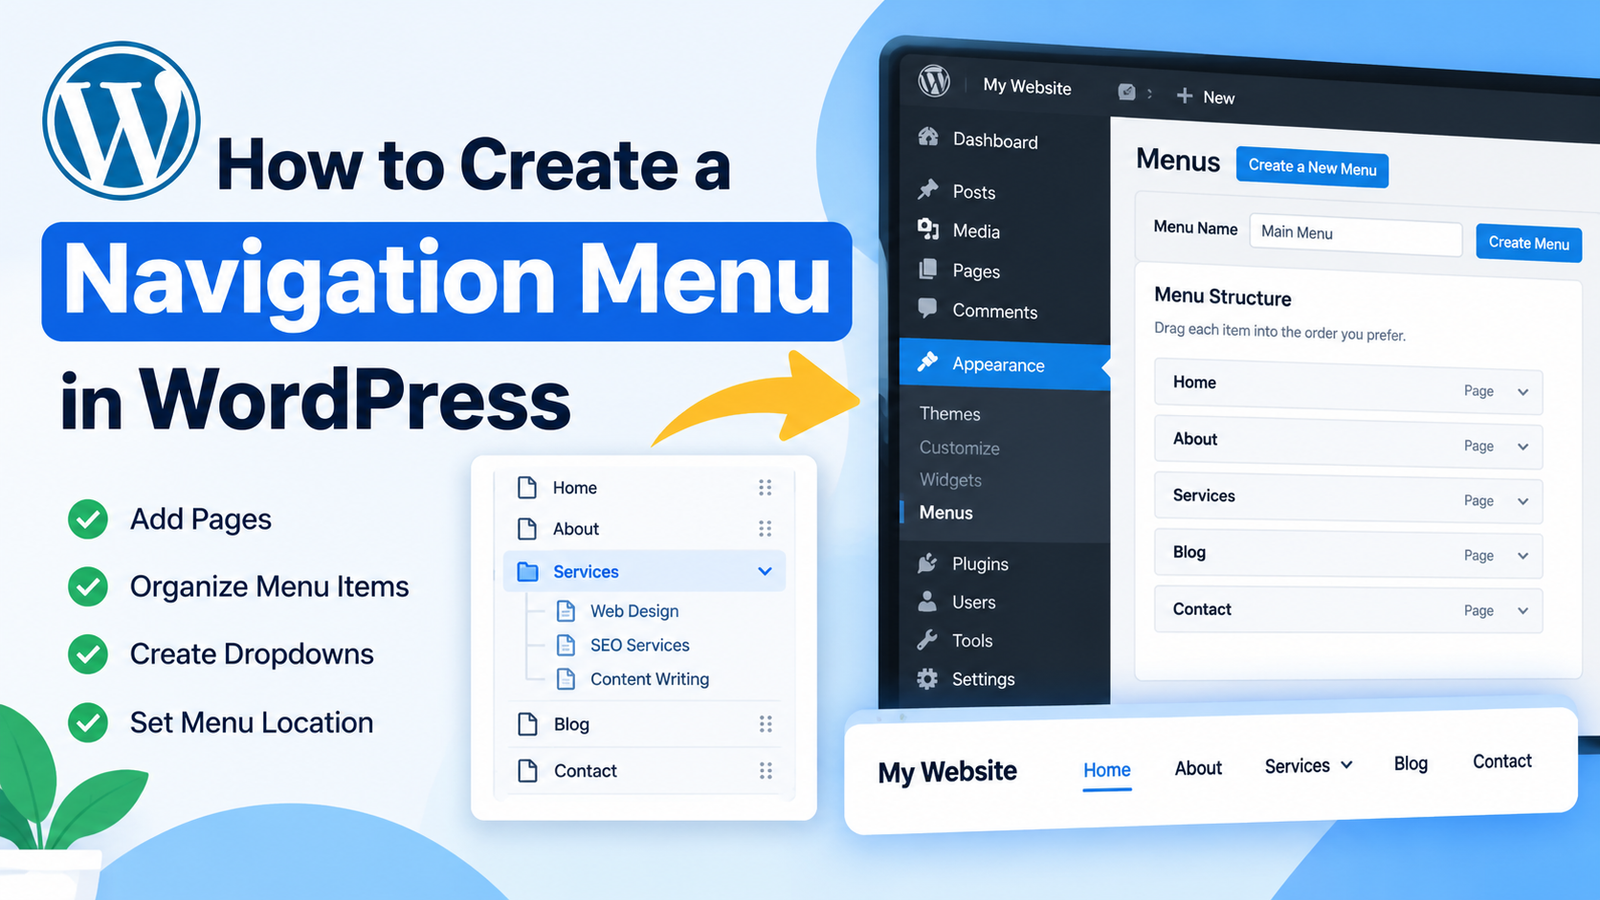
A navigation menu helps visitors move around your website easily. It usually appears in the header and contains links to important pages such as Home, About, Services, Blog, and Contact. A clear menu improves the user experience and helps visitors find the information they need quickly.
If you are wondering how to create a navigation menu in WordPress, the process is simple. WordPress provides built-in options for creating menus, adding pages, arranging links, and choosing where the menu should appear.
In this guide, you will learn how to create and customize a navigation menu step by step.
What Is a Navigation Menu in WordPress?
A navigation menu is a collection of links that helps visitors navigate your website. You can add links to pages, posts, categories, custom URLs, and other important areas of your site.
For example, a basic business website may have a menu like:
- Home
- About Us
- Services
- Blog
- Contact Us
A well-organized menu makes your website easier to use and can also help search engines understand your site’s structure.
How to Create a Navigation Menu in WordPress
Step 1: Log In to Your WordPress Dashboard
First, log in to your WordPress website. Enter your username and password to access the WordPress dashboard.
Once you are logged in, look at the left-hand menu. Depending on your WordPress theme, you may see different navigation options.
For classic themes, menus are usually managed through Appearance > Menus. If you are using a block theme, you may manage navigation through Appearance > Editor.
Step 2: Open the Navigation Settings
If your website uses a classic WordPress theme, go to Appearance > Menus.
Click Create a New Menu if you do not already have a menu. Enter a name for your menu, such as “Main Menu,” and click Create Menu.
The menu name is mainly for your own organization, so visitors normally will not see it.
Step 3: Add Pages to Your Menu
After creating the menu, you can start adding links.
On the left side, you will usually see options such as Pages, Posts, Custom Links, and Categories. Select the pages you want to add and click Add to Menu.
For example, you might add:
- Home
- About
- Services
- Blog
- Contact
The selected pages will appear in your menu structure.
Step 4: Arrange Your Menu Items
You can change the order of your menu items by dragging and dropping them.
Place the most important pages where visitors can easily find them. Many websites put the Home link first and Contact or other important pages near the end.
You can also create dropdown menus by moving one menu item slightly underneath another item. This creates a submenu that appears when visitors hover over or select the parent item.
For example:
Services
- Web Design
- SEO Services
- Content Writing
This structure keeps your navigation organized without making the main menu too crowded.
Step 5: Add Custom Links
WordPress also allows you to add custom URLs to your navigation menu.
Choose Custom Links, enter the URL, and add the link text. This is useful when you want to link to an external website, a specific section of your site, or another page that is not available in the standard page list.
Use clear and descriptive link text so visitors understand where the link will take them.
Step 6: Choose the Menu Location
After adding and arranging your menu items, choose where the menu should appear.
Classic themes may provide locations such as:
- Primary Menu
- Header Menu
- Footer Menu
- Mobile Menu
Select the appropriate location and save your changes.
If your theme uses the WordPress Site Editor, open Appearance > Editor, select the Navigation block, and customize the menu from there.
Step 7: Preview Your Navigation Menu
After saving your menu, visit your website and check how it looks.
Test every link to make sure it opens the correct page. Also check the menu on both desktop and mobile devices.
A responsive menu is important because many visitors browse websites using smartphones.
Tips for a Better WordPress Navigation Menu
Keep your menu simple and avoid adding too many links. Visitors should be able to understand your website structure quickly.
Use short, descriptive names such as “About,” “Services,” and “Contact” instead of long menu labels.
You should also keep related pages together. For example, place service-related pages under a Services dropdown instead of displaying every page separately.
For more useful information, follow this WordPress menu navigation guide to keep your site’s navigation organized and user-friendly.
Conclusion
Creating a navigation menu in WordPress is an easy way to improve your website’s usability. You can add pages, custom links, categories, and dropdown items to create a navigation structure that works for your visitors.
Whether you are building a blog, business website, portfolio, or online store, a well-designed navigation menu makes it easier for visitors to find important content. After creating your menu, remember to test all links and check its appearance on mobile devices.
With these simple steps, you can create a clean and effective WordPress navigation menu without needing coding skills.

Leave a Reply