
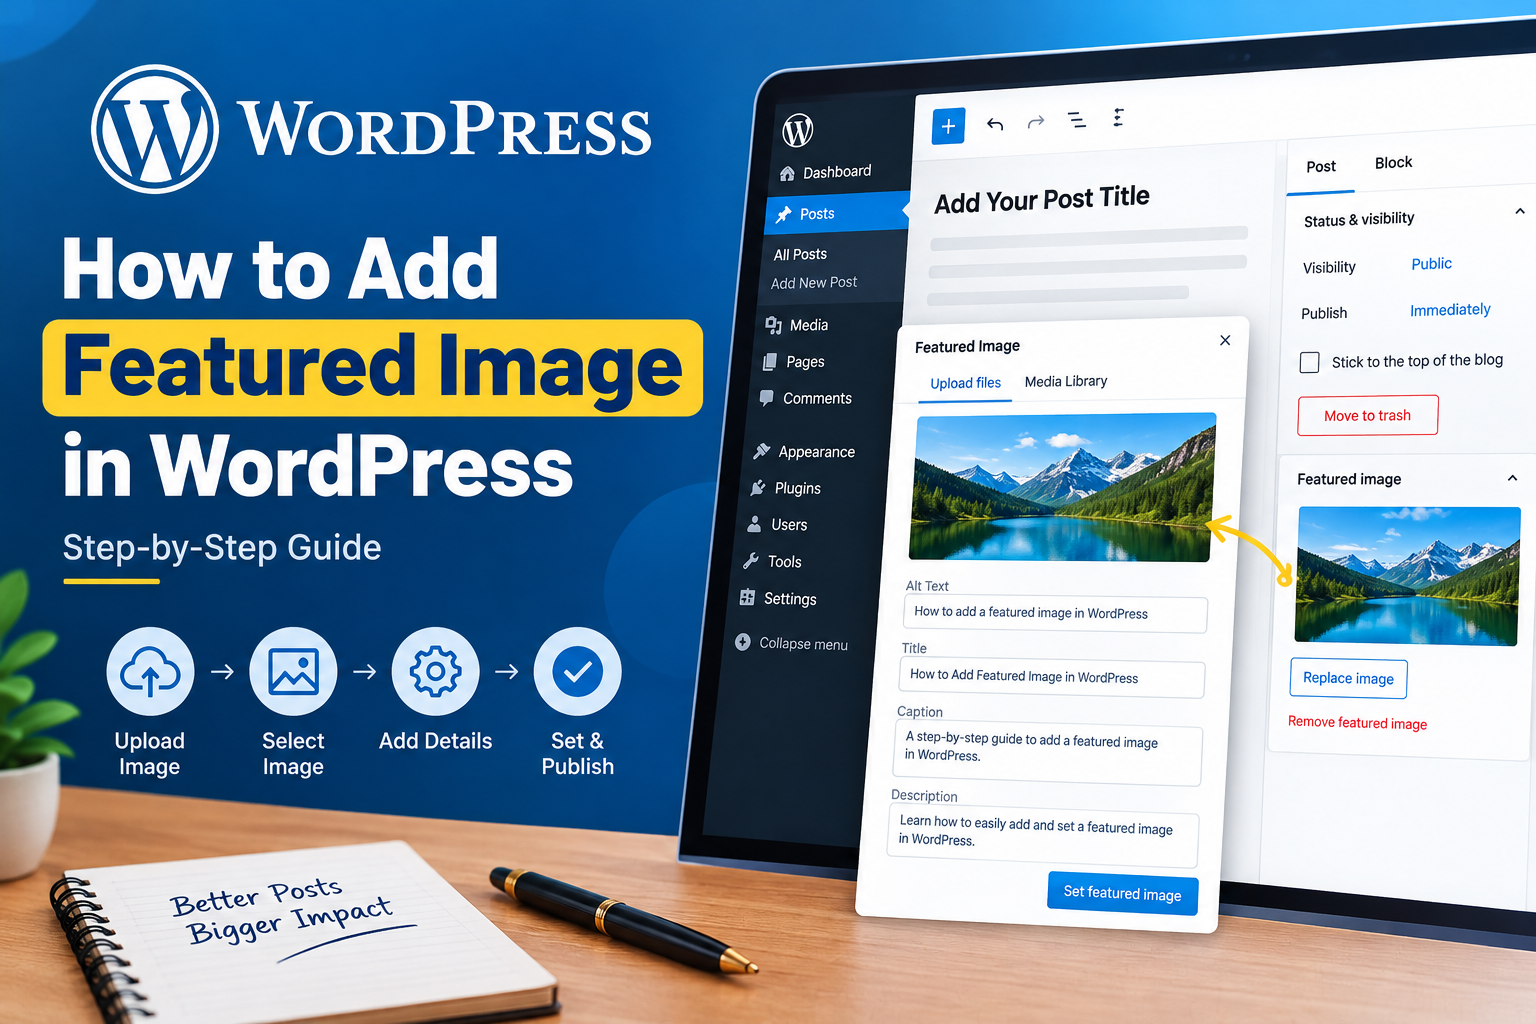
A featured image is one of the most important visual elements of a WordPress post. It usually appears at the top of a blog post and may also be displayed on your homepage, blog archive, category pages, and social media previews. A good featured image can make your content more attractive and encourage visitors to click and read.
If you are new to WordPress, adding a featured image is very easy. WordPress provides a built-in option that lets you upload or select an image directly from the post editor. In this guide, you will learn how to add featured image in WordPress step by step.
What Is a Featured Image in WordPress?
A featured image is the main image associated with a WordPress post or page. Your WordPress theme decides where this image appears. Some themes show it above the post title, while others display it on blog cards or archive pages.
A featured image can help visitors understand your content before they open the article. For example, a post about WordPress plugins may use an image related to plugins or website management.
Why Should You Add a Featured Image?
Adding a featured image can improve the appearance of your website and make your posts easier to recognize. It can also make your blog archive look more professional.
Featured images are especially useful for:
- Blog posts
- News articles
- Tutorials
- Product reviews
- WordPress guides
- Social media sharing
Use a clear and relevant image that matches the topic of your article. Avoid using unrelated images because they can confuse visitors.
How to Add Featured Image in WordPress
Follow these simple steps to add a featured image to your WordPress post.
Step 1: Open Your WordPress Dashboard
First, log in to your WordPress admin dashboard. From the dashboard, go to Posts and select All Posts.
Find the post where you want to add an image. Click Edit to open the WordPress editor.
You can also add a featured image while creating a new post by selecting Add New Post.
Step 2: Find the Featured Image Section
Once the post editor opens, look at the settings panel on the right side of the screen.
If you are using the Gutenberg block editor, select the Post settings tab. Scroll down until you find the Featured Image section.
Click Set featured image.
If you do not see the option, make sure the post settings panel is open. You may need to click the settings icon in the top-right corner of the editor.
Step 3: Upload or Select an Image
After clicking Set featured image, WordPress will open the Media Library.
You have two choices. You can select an image that has already been uploaded, or you can upload a new image from your computer.
To upload a new image, click Upload files and then select your image. Wait for the upload to finish.
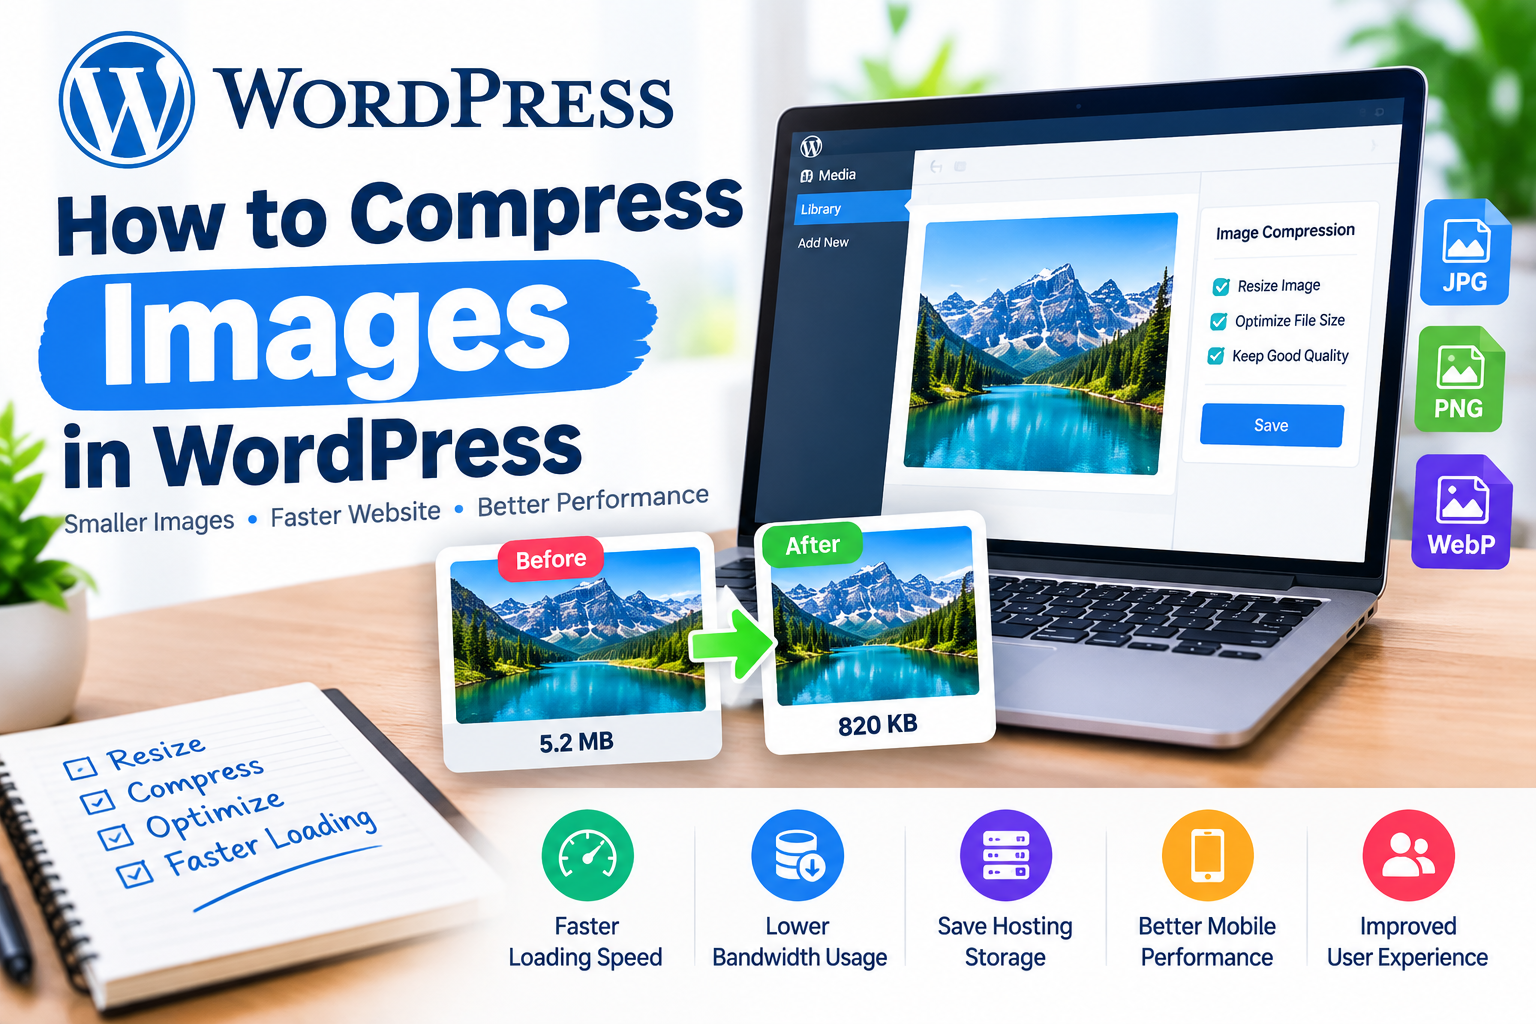
Choose an image with good quality and an appropriate size. Large image files can slow down your website, so it is better to optimize images before uploading them.
Step 4: Add Image Information
After selecting the image, WordPress displays several fields in the media settings.
Add descriptive information such as Alt Text. The alt text should briefly explain what the image shows. This can improve accessibility and help search engines understand the image.
You can also add a title, caption, and description when appropriate.
Avoid stuffing keywords into the alt text. Keep it natural and relevant to the image.
Step 5: Set the Featured Image
After selecting your image and adding the necessary information, click Set featured image.
The selected image will now appear in the Featured Image section of your post settings.
You can click the image if you want to replace or edit it.
Step 6: Save or Publish Your Post
After adding the featured image, review your article. If everything looks correct, click Save Draft, Update, or Publish, depending on the status of your post.
If the post is already published, click Update to save the new featured image.
How to Change a Featured Image
Changing a featured image is just as simple. Open the WordPress post and go to the Featured Image section.
Click the existing image and choose Replace or select a different image from the Media Library. After choosing the new image, save or update your post.
The new image will replace the previous featured image.
Tips for Choosing a Good Featured Image
Choose an image that clearly relates to your article topic. Use a high-quality image that looks good on both desktop and mobile devices.
Keep the design simple and avoid images with too much text. If you use text on the image, make sure it is easy to read.
You should also compress your images before uploading them. Optimized images can help reduce page loading time and improve the overall user experience.
Conclusion
Adding a featured image in WordPress is a simple way to make your posts more attractive and professional. You can add one directly from the WordPress editor by opening the post, finding the Featured Image section, selecting an image, and saving your changes.
For the best results, use a relevant, high-quality, and properly optimized image. Add descriptive alt text and make sure the image fits your website’s design. With these simple steps, you can easily add featured images to your WordPress posts.
Leave a Reply