
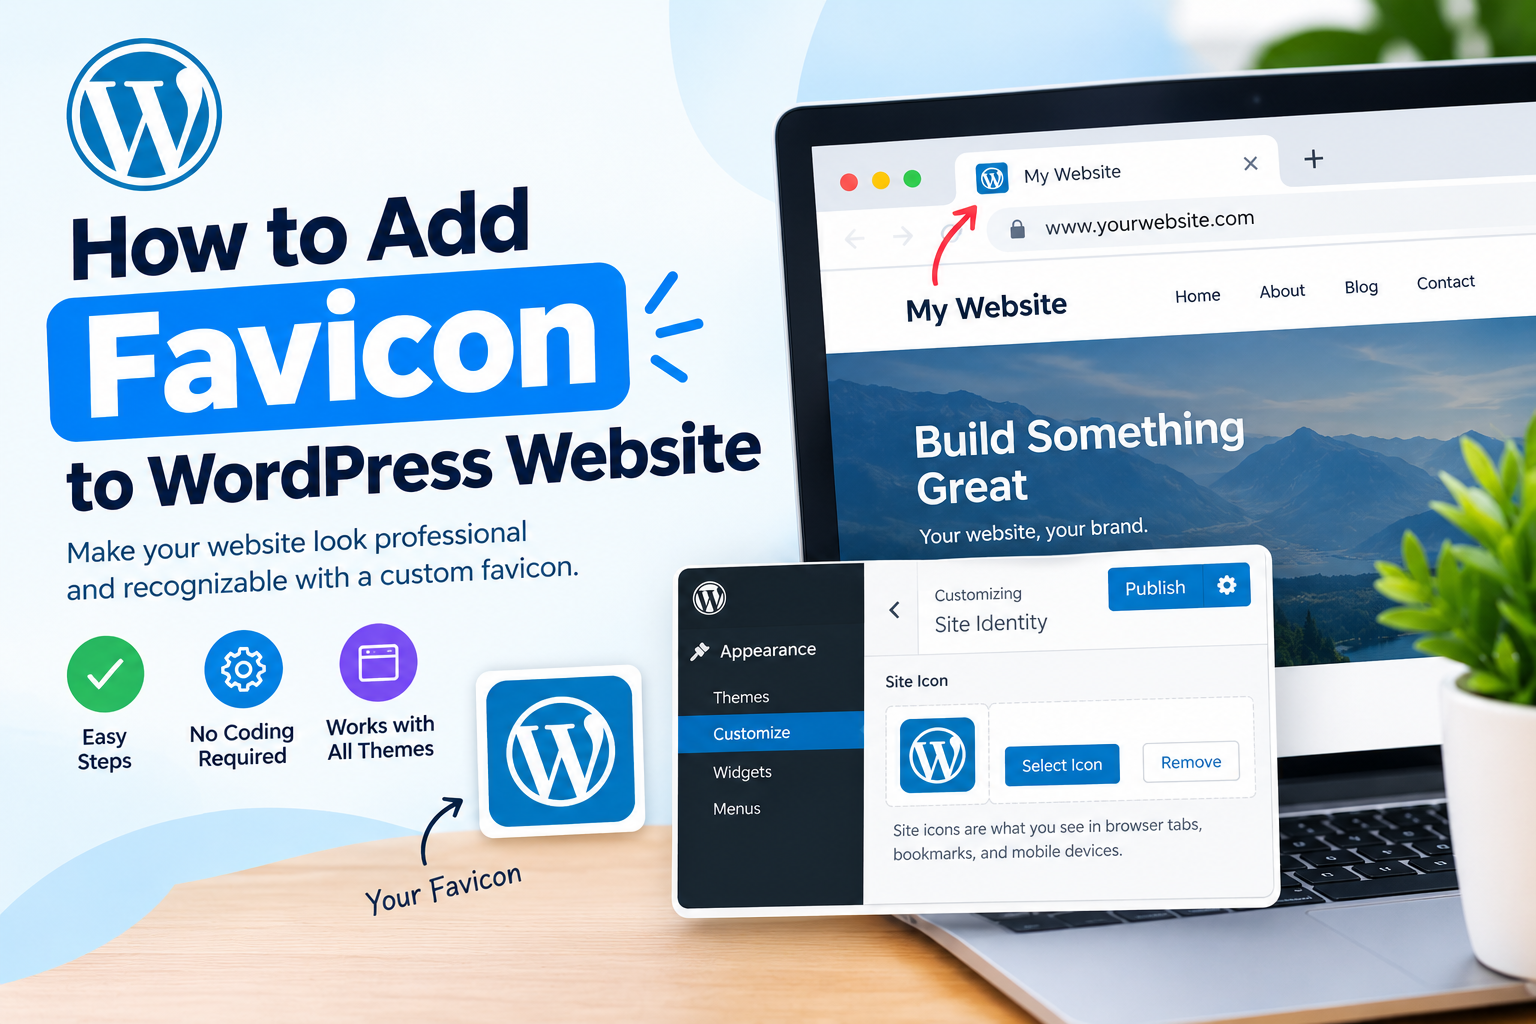
A favicon is the small icon that appears next to your website name in a browser tab. It can also appear in bookmarks, browser history, and other places where your website is displayed. Adding a favicon gives your website a more professional appearance and makes it easier for visitors to recognize your brand.
If you have recently created a WordPress website, you may be wondering how to add favicon to WordPress website. The good news is that you do not need advanced coding skills. WordPress provides simple options for adding a site icon.
In this guide, you will learn how to create a suitable favicon, upload it to WordPress, and check whether it is displaying correctly.
What Is a Favicon?
A favicon is a small square image associated with a website. It usually contains a company logo, brand symbol, or a simple letter.
For example, when you open several websites in different browser tabs, the favicon helps you identify each website quickly. A good favicon should be simple because it is displayed at a very small size.
For the best result, use a clear image with a square shape. A logo with too much text or detail may not look good when reduced to a small icon.
Prepare Your Favicon Image
Before adding a favicon, prepare an appropriate image for your website.
WordPress generally works well with common image formats such as PNG and JPEG. A simple logo or icon with a square layout is usually a good choice.
Try to use an image that is at least 512 × 512 pixels. A larger, high-quality square image can give WordPress enough resolution to display the icon clearly in different locations.
Keep the design simple and make sure the important part of the logo is visible.
How to Add Favicon to WordPress Website
The easiest method depends on your WordPress theme and version. Many modern WordPress websites allow you to add a favicon directly through the WordPress settings.
Follow these steps to get started.
Step 1: Log In to Your WordPress Dashboard
First, log in to your WordPress admin dashboard.
Enter your username and password on the WordPress login page. After signing in, you will see the main dashboard.
From here, you can manage your website settings, posts, pages, themes, plugins, and other features.
Step 2: Open the Site Customization Settings
If your theme uses the WordPress Customizer, go to Appearance > Customize.
Look for an option such as Site Identity. Depending on your theme, the exact wording or location may be slightly different.
Click Site Identity to view your website logo, site title, tagline, and site icon settings.
Step 3: Select the Site Icon
Inside the Site Identity section, look for Site Icon.
Click Select Site Icon or the related upload button. WordPress will open the Media Library.
You can select an existing image from your Media Library or upload a new favicon image from your computer.
Choose the square image you prepared earlier.
Step 4: Crop the Image if Needed
After selecting your image, WordPress may ask you to crop it.
Make sure the important part of your logo remains inside the selected area. Because the favicon is small, avoid cutting off important parts of the design.
When you are satisfied with the crop, click the option to save or publish the changes.
Step 5: Publish Your Changes
If you are using the Customizer, click Publish to save the changes.
Your new favicon should now be connected to your WordPress website.
If you are using a block-based theme, the process can be different. In that case, check the WordPress Site Editor and your theme’s site identity settings.
How to Add a Favicon Using the Site Editor
Modern WordPress block themes may use the Site Editor instead of the traditional Customizer.
Go to Appearance > Editor from your WordPress dashboard. Then look through the available site settings or template areas for your website’s branding or site icon options.
The exact interface can vary depending on your WordPress version and active theme. If the site icon option is available, upload your prepared square image and save the changes.
This method allows users of newer block-based themes to manage website branding directly from the WordPress editing interface.
Check If Your Favicon Is Working
After adding the favicon, open your website in a new browser tab.
Look at the browser tab next to your website title. Your favicon should appear there.
If you do not see it immediately, do not worry. Browser caching can sometimes prevent a newly added favicon from appearing instantly.
Try refreshing the page or opening your website in a private or incognito browser window.
You can also clear your browser cache and check the website again.
Common Favicon Problems
Sometimes a favicon may not appear even after you add it successfully.
One common reason is browser caching. The browser may still be displaying an older version of your website.
Another issue can be an unsuitable image. Make sure your favicon is square and large enough for WordPress to process properly.
If you recently changed your theme, check the site icon settings again. Some themes may use different customization options.
For additional guidance, you can also follow a WordPress favicon setup guide when checking your site’s branding settings.
Why Should You Add a Favicon?
A favicon may seem like a small detail, but it can improve your website’s overall appearance.
It helps visitors recognize your website when multiple tabs are open. It can also make your website look more complete and professionally branded.
For a business, blog, portfolio, or online store, a recognizable favicon can support consistent branding across the website.
Final Thoughts
Learning how to add favicon to WordPress website is a simple way to improve your site’s branding. You can usually add a favicon through the Customizer or, with newer block themes, through the Site Editor.
Prepare a clear square image, upload it as your site icon, save your changes, and then check your website in a browser tab.
If the favicon does not appear immediately, clear your browser cache or check the website in a private window. With these simple steps, you can add a professional favicon to your WordPress website without editing code.
Leave a Reply