
WordPress gives you many ways to customize a website without editing its core files. However, sometimes the available theme settings are not enough. You may want to change the color of a button, adjust font sizes, modify spacing, or change the appearance of a specific element. In these situations, custom CSS can help.
CSS, or Cascading Style Sheets, controls the visual appearance of a website. You can use CSS to change colors, fonts, borders, margins, padding, backgrounds, and many other design elements.
In this guide, you will learn how to add custom CSS in WordPress using simple methods.
What Is Custom CSS in WordPress?
Custom CSS is additional styling code that you add to your WordPress website. It works alongside your theme’s existing styles and lets you make design changes without modifying the original theme files.
For example, you can use custom CSS to make a button larger, change the color of a heading, or add extra spacing between sections.
The biggest advantage is that you can make small design changes without creating a completely new theme.
Why Add Custom CSS to WordPress?
Custom CSS is useful when you need more control over your website’s appearance.
You can use it to:
- Change text and background colors
- Adjust font sizes
- Modify margins and padding
- Change button styles
- Customize menus
- Add borders and shadows
- Change the appearance of specific sections
- Improve the overall design of your website
If your theme does not provide a particular design option, CSS can often provide a simple solution.
Method 1: Add Custom CSS Using the Customizer
Many classic WordPress themes include a built-in Additional CSS option.
First, log in to your WordPress dashboard.
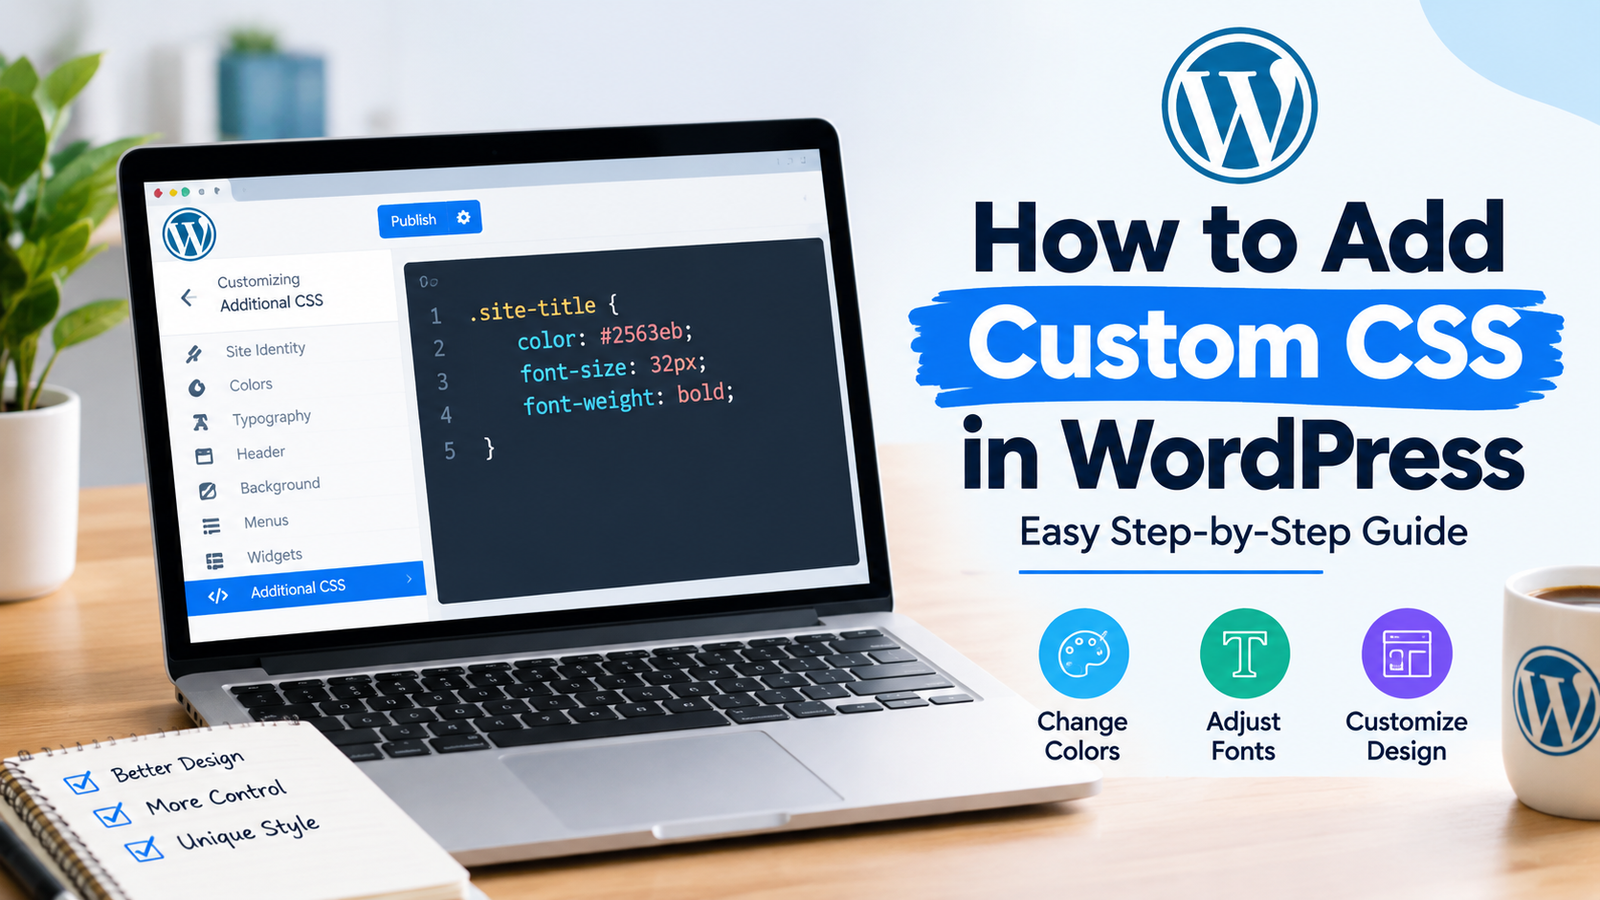
Go to Appearance and look for Customize. Open the Customizer and find the Additional CSS section.
You will see a code editor where you can add your CSS.
For example:
.site-title {
    color: #333333;
    font-size: 32px;
}
After adding your code, click Publish to save the changes.
The exact options may vary depending on your WordPress theme.
Method 2: Use the WordPress Site Editor
Block themes may use the WordPress Site Editor instead of the traditional Customizer.
Go to Appearance > Editor from your WordPress dashboard.
Depending on your theme and WordPress version, you may find style settings that allow you to customize colors, typography, spacing, and other design options.
For advanced styling, you may need a theme-specific CSS option or another method.
Always check your theme’s documentation before adding CSS through an unfamiliar interface.
Method 3: Use a Custom CSS Plugin
Another option is to use a dedicated CSS plugin. This can be useful when your theme does not provide an easy place for custom CSS.
After installing and activating a suitable CSS plugin, open its settings and add your CSS code.
This method can keep your custom styling separate from your theme. That can be helpful if you change themes later.
Before installing any plugin, check that it is regularly maintained and compatible with your WordPress version.
How to Write Custom CSS
CSS uses selectors and properties to target website elements.
For example:
button {
    background-color: black;
    color: white;
    padding: 12px 20px;
}
Here, button is the selector. The properties define how the button should look.
You can also target specific classes or IDs. Browser developer tools can help you identify the correct selector when you are unsure which element to target.
Test Your CSS Before Publishing
It is important to test your changes after adding CSS.
Check your website on both desktop and mobile devices. A change that looks good on a large screen may not work properly on a smaller screen.
If something looks wrong, review the CSS and check for missing brackets, incorrect selectors, or conflicting styles.
You can also use your browser’s developer tools to inspect elements and test CSS temporarily before adding the final code to WordPress.
Use a Child Theme When Necessary
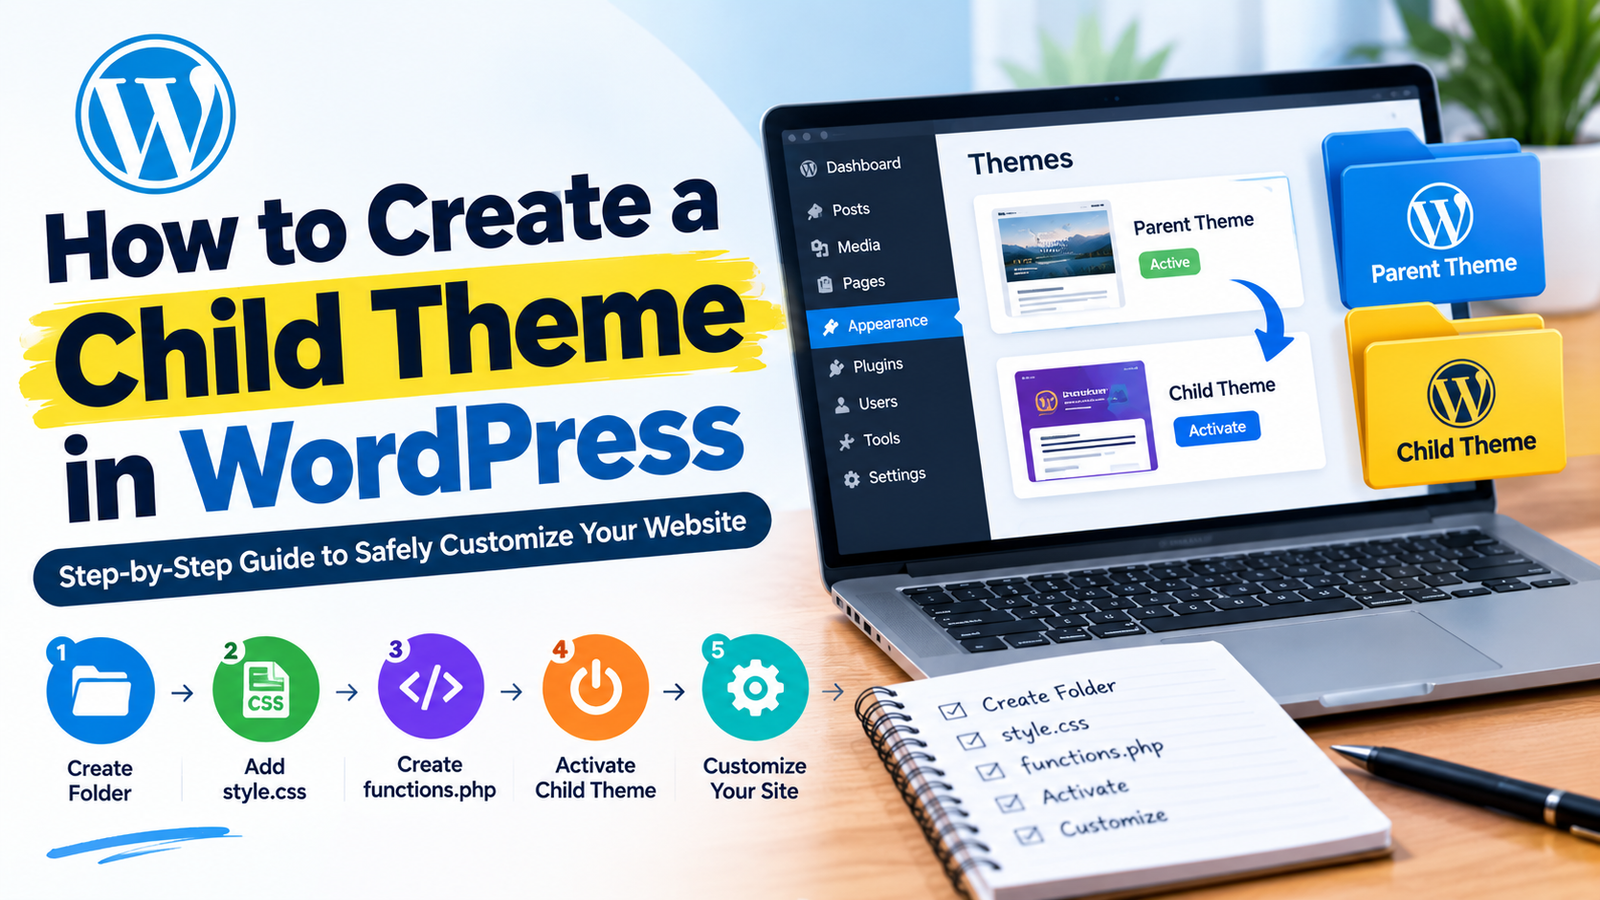
If you need to make extensive code-level changes, consider using a child theme. A child theme allows you to customize a WordPress theme while keeping the original theme separate.
For small styling changes, however, the built-in CSS options or a dedicated CSS solution may be enough.
Avoid editing the main theme’s files directly because theme updates can overwrite your changes.
Tips for Safe CSS Customization
Before adding custom CSS, make a backup of your website if possible. Keep your CSS simple and organized, and remove old code that you no longer need.
Do not add large amounts of unnecessary CSS. Too much unused code can make your stylesheet harder to maintain.
If you are learning CSS, start with small changes. Change one element at a time and check the result before moving to another modification.
For more useful tips, use this [WordPress CSS customization guide] when planning your website design improvements.
Final Thoughts
Learning how to add custom CSS in WordPress gives you greater control over your website’s appearance. You can use the Customizer, Site Editor, or a suitable CSS plugin depending on your theme and setup.
Start with simple changes such as colors, fonts, spacing, and buttons. Always test your CSS on different screen sizes and avoid editing your main theme files directly.
With a little CSS knowledge, you can make your WordPress website look more professional without rebuilding the entire theme.
Leave a Reply