
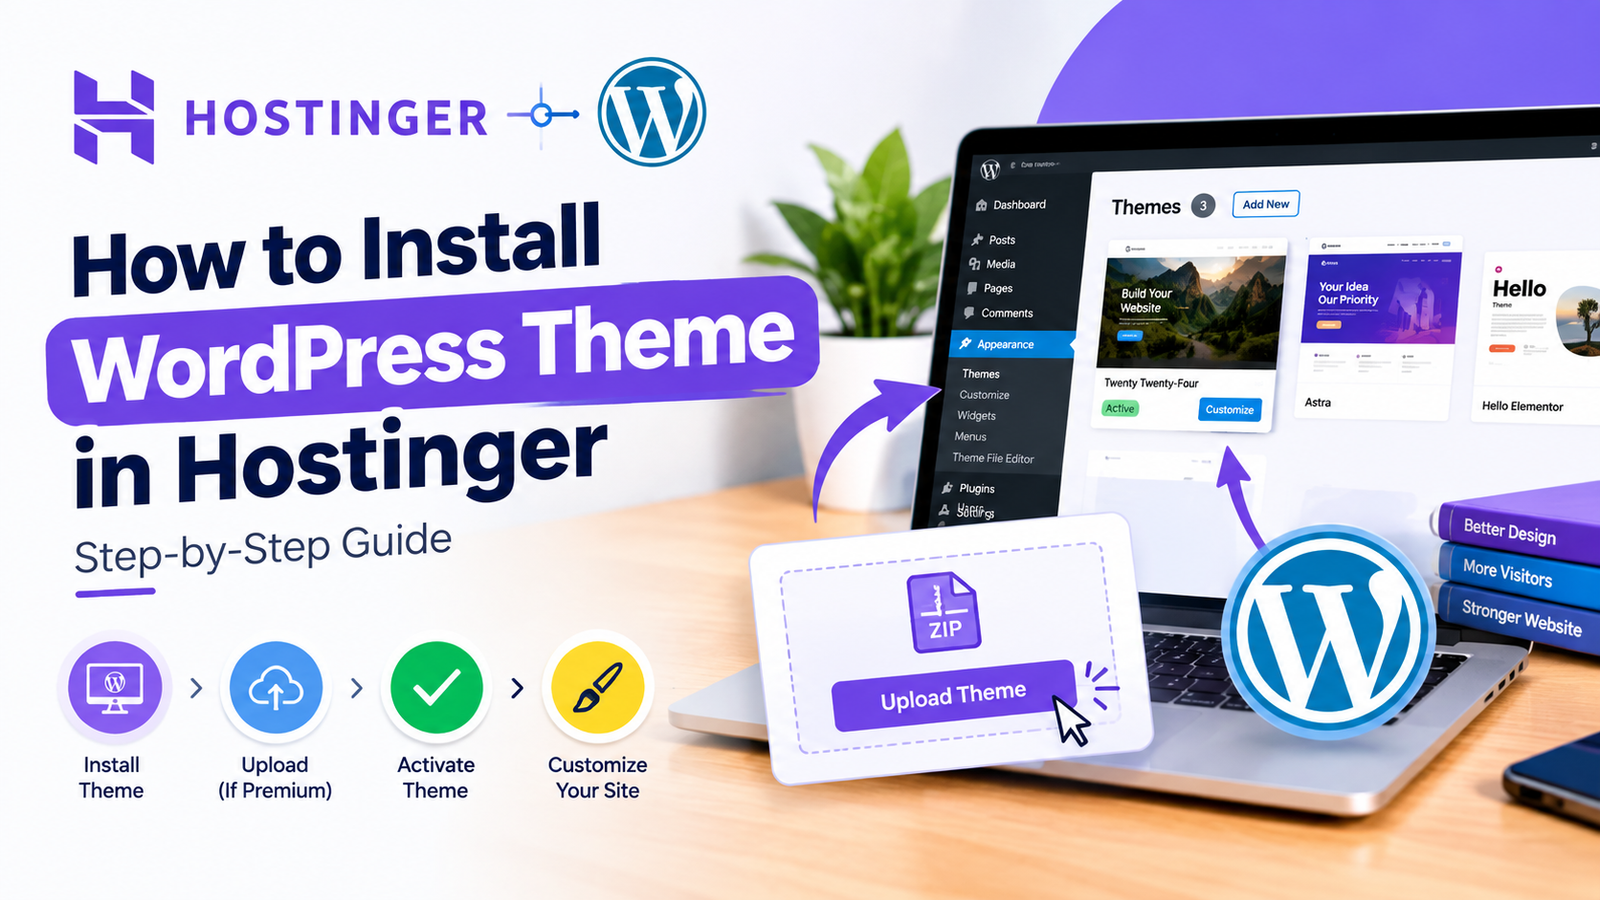
Installing a new WordPress theme can completely change the look and feel of your website. If your website is hosted on Hostinger, you can install a WordPress theme through your WordPress dashboard without complicated technical steps.
If you are searching for how to install WordPress theme in Hostinger, this guide will walk you through the process from start to finish. You can install a free theme from WordPress, upload a premium theme, activate it, and customize your website.
1. Choose a WordPress Theme
Before installing a theme, decide which design is suitable for your website. WordPress offers thousands of free themes, while many premium themes are available from third-party developers.
Choose a theme that is responsive, regularly updated, lightweight, and compatible with your WordPress version. Also, check whether it supports the plugins and features you plan to use.
For a blog, you may want a clean layout with easy navigation. On the other hand, an online store may require a theme designed for WooCommerce.
2. Log In to Your WordPress Dashboard
First, open your WordPress admin area. You can normally access it by adding /wp-admin after your website address.
Enter your WordPress username and password. After logging in, you will see the WordPress dashboard.
From here, you can manage themes, plugins, pages, posts, menus, and other website settings.
3. Open the Themes Section
Once you are inside the WordPress dashboard, look at the menu on the left side.
Go to Appearance > Themes. Depending on your WordPress version, you may see an option such as Add New Theme.
Click this option to view the available themes.
You can search for a theme by name or browse the WordPress theme library. WordPress displays different designs that you can install directly from the dashboard.
4. Install a Free Theme
If you want to use a free theme from the WordPress directory, find the theme you like.
Hover over the theme and click Install. WordPress will download the theme and install it on your website.
After installation, the button will usually change to Activate. However, you can preview the theme before activating it.
This is useful because you can check the design before making it visible to your visitors.
5. Upload a Premium WordPress Theme
If you purchased a premium theme, you may receive the theme as a ZIP file.
To upload it, go to Appearance > Themes > Add New Theme and select the option to upload a theme.
Click Choose File and select the theme ZIP file from your computer. Then click Install Now.
WordPress will upload and install the theme. Make sure you upload the original theme ZIP file rather than an extracted folder unless the theme provider specifically tells you otherwise.
6. Activate the New Theme
After installing the theme, you need to activate it.
Go back to Appearance > Themes, find the newly installed theme, and click Activate.
Your new theme will now become the active design of your WordPress website.
Before making major changes, open your website in a new browser tab. Check whether the homepage, menus, images, and other important elements are displaying correctly.
7. Customize Your Theme
After activation, customize the theme according to your website’s needs.
Depending on the theme, you may find customization options under Appearance > Customize or through the Site Editor.
You can change your logo, colors, fonts, header, footer, menus, homepage layout, and other elements.
If you are completing your Hostinger WordPress theme setup, make changes gradually. This makes it easier to identify an issue if something does not look correct.
8. Check Your Website on Mobile
A responsive design is important because many visitors use smartphones and tablets.
After installing the theme, open your website on a mobile device or use your browser’s responsive preview. Check the menus, buttons, images, text, and forms.
Make sure visitors can easily read your content and navigate between pages.
9. Test Plugins and Website Features
A new theme can sometimes change how certain plugins appear on your website.
Therefore, test important features after activation. Check your contact forms, navigation menus, search function, social links, widgets, and other interactive elements.
If something stops working, review the theme documentation or plugin settings.
10. Check Website Speed and SEO
Your theme can affect website performance. After installation, check your website’s loading speed and make sure unnecessary theme features are disabled.
Also, review important SEO elements such as page titles, headings, images, internal links, and meta descriptions.
Do not remove important SEO settings simply because you have changed your theme. If your previous theme contained custom code, analytics, or other important settings, make sure they are still configured correctly.
11. Keep the Theme Updated
Once your theme is installed, keep it updated. Theme developers release updates to improve features, fix bugs, and address security issues.
Before applying a major update, it is a good idea to maintain a recent website backup.
Also, avoid downloading themes from unreliable sources. Use trusted theme developers or the official WordPress theme directory whenever possible.
Conclusion
Learning how to install WordPress theme in Hostinger is straightforward. You can install a free theme directly from the WordPress dashboard or upload a premium theme using its ZIP file.
After installation, activate the theme, customize your website, test it on desktop and mobile devices, and check important plugins and SEO settings. With these steps, you can give your Hostinger WordPress website a fresh design while keeping it functional and user-friendly.
Leave a Reply