
An SSL certificate is an important part of a secure website. It protects information exchanged between your visitors and your website by enabling an encrypted HTTPS connection. When SSL is active, visitors normally see a padlock icon next to your website address in their browser.
If you use Hostinger, installing SSL is usually very simple because eligible Web, Cloud, and Agency hosting plans include a free Lifetime SSL certificate. Hostinger can automatically install the certificate after your domain is added and correctly pointed to your hosting account.
However, if SSL has not been installed automatically, you can install it manually from your Hostinger account. Here is a step-by-step guide.
What Is an SSL Certificate?
SSL stands for Secure Sockets Layer. It helps establish an encrypted connection between a website and a visitor’s browser. Modern websites use HTTPS, which is the secure version of HTTP.
An SSL certificate is especially important for websites that collect login information, contact forms, customer details, or other sensitive data. It also helps visitors recognize that their connection to your website is protected.
Before starting, make sure your domain has been added to your Hostinger hosting plan and is correctly pointing to Hostinger.
Step 1: Log In to Hostinger
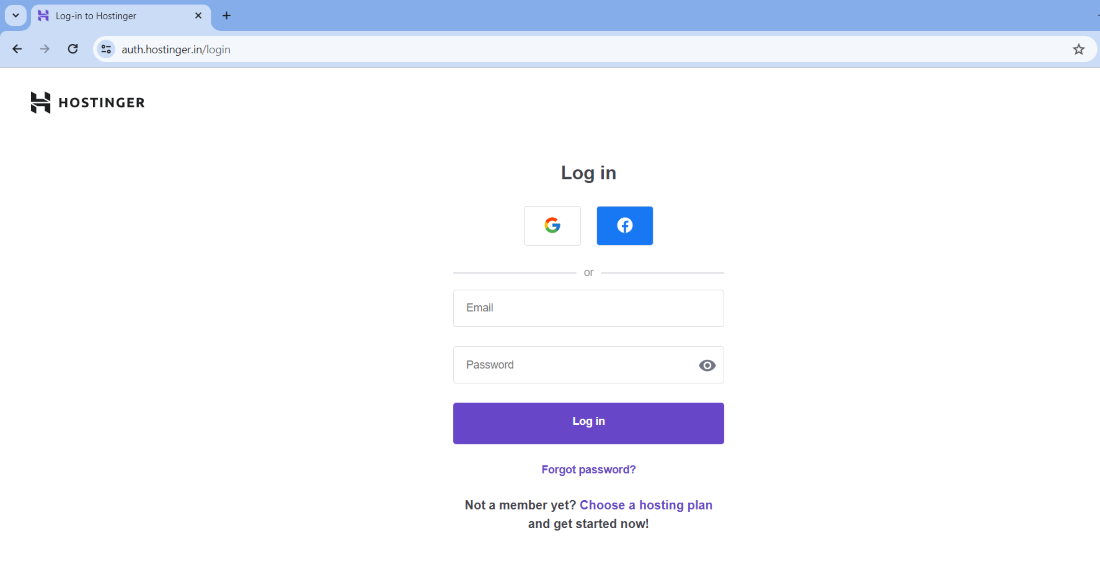
First, open the Hostinger website and sign in to your account.
After logging in, open your hosting dashboard and go to the Websites section. Find the website where you want to activate SSL and click Dashboard.
Your website must be properly connected to the hosting account before the SSL certificate can be installed successfully.
Step 2: Open the SSL Section
Inside your website dashboard, look at the menu on the left side.
Go to:
Security → SSL
The SSL page will display the domains and SSL certificates associated with your hosting account. If your certificate is already active, you may see its status and certificate information instead of an installation button.
Step 3: Select Your Domain
On the SSL page, select the domain you want to secure.
If the domain does not appear, check whether it has been added to your hosting plan. You should also verify that its DNS settings point to Hostinger.
Once the correct domain is selected, look for the Install SSL button.
Step 4: Click Install SSL
Click Install SSL to start the installation.
Hostinger will begin configuring the free SSL certificate for your selected domain. The certificate may initially show an Installing status.
According to Hostinger’s current documentation, the installation generally completes within a few minutes, although some situations can take longer.
Avoid repeatedly changing DNS settings while the installation is in progress. Give the system some time to complete the process.
Step 5: Check the SSL Status
After installation, return to the SSL section and check the certificate status.
When the status changes to Active, the SSL certificate has been successfully installed.
You can also test your website by opening it with HTTPS, for example:
If the website loads correctly with HTTPS and your browser shows a secure connection, the SSL certificate is working.
Step 6: Make Sure Your WordPress Website Uses HTTPS
If your website uses WordPress and still opens with HTTP, you may need to update the WordPress URLs.
Log in to your WordPress dashboard and go to:
Settings → General
Check the WordPress Address (URL) and Site Address (URL) fields. Both should normally use HTTPS instead of HTTP after SSL has been activated.
For example:
Save the changes after confirming the URLs.
What If SSL Does Not Install?
If the SSL certificate fails to install, first check whether your domain is correctly pointing to Hostinger. Hostinger notes that the domain must point to the hosting service for Lifetime SSL installation to work correctly.
If you recently changed nameservers or DNS records, you may also need to wait for DNS changes to propagate.
If you use Cloudflare, check your DNS and proxy settings because they can sometimes interfere with SSL activation. Hostinger recommends temporarily using DNS-only settings in certain SSL installation troubleshooting situations.
Can You Install a Custom SSL?
Yes. If you purchased an SSL certificate from another provider, Hostinger also supports custom SSL installation on supported hosting plans.
For a custom certificate, you generally need the certificate, private key, and CA bundle provided by the SSL issuer. In Hostinger, these can be imported through the SSL section.
For most users, however, Hostinger’s included Lifetime SSL is sufficient.
Final Thoughts
Installing SSL on Hostinger is usually straightforward. In many cases, the certificate is installed automatically after your domain is connected correctly. If it is not active, open your website dashboard, go to Security → SSL, select your domain, and click Install SSL.
Once SSL is active, verify that your website loads with HTTPS and check your WordPress settings if necessary. Following this simple Hostinger SSL setup guide can help you secure your website and provide visitors with a safer browsing experience.


Leave a Reply