
If you have launched a new website, connecting your domain to Google Search Console should be one of your first steps. Google Search Console helps website owners understand how their pages appear in Google Search. It can also show search queries, indexing problems, clicks, impressions, and other useful information.
The good news is that learning how to connect domain to Google Search Console is not difficult. You mainly need to add your website to Search Console, verify ownership, and allow Google to confirm that you control the domain.
What Is Google Search Console?
Google Search Console is a free service from Google that helps website owners monitor their presence in Google Search. You can use it to check whether Google has discovered your website, identify indexing issues, submit a sitemap, and review search performance.
For a new website, setting up Search Console early can help you understand how Google is interacting with your site.
Step 1: Open Google Search Console
First, open Google Search Console and sign in with your Google account.
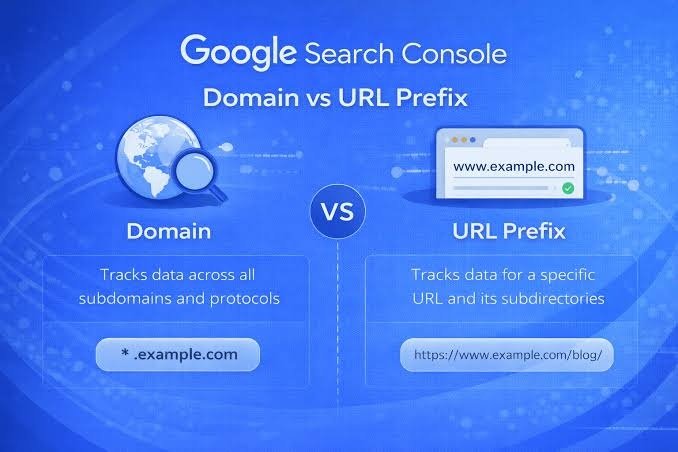
After signing in, you will see an option to add a property. Google generally provides two property types: Domain and URL prefix.
If you want to connect your entire domain, select the Domain option. This is useful because it can cover different versions and subdomains of your website.
For example, if your website is example.com, enter the domain without adding https://.
Step 2: Enter Your Domain
After selecting the Domain property, enter your domain name.
Make sure the spelling is correct before continuing. A small typing mistake can prevent verification from working correctly.
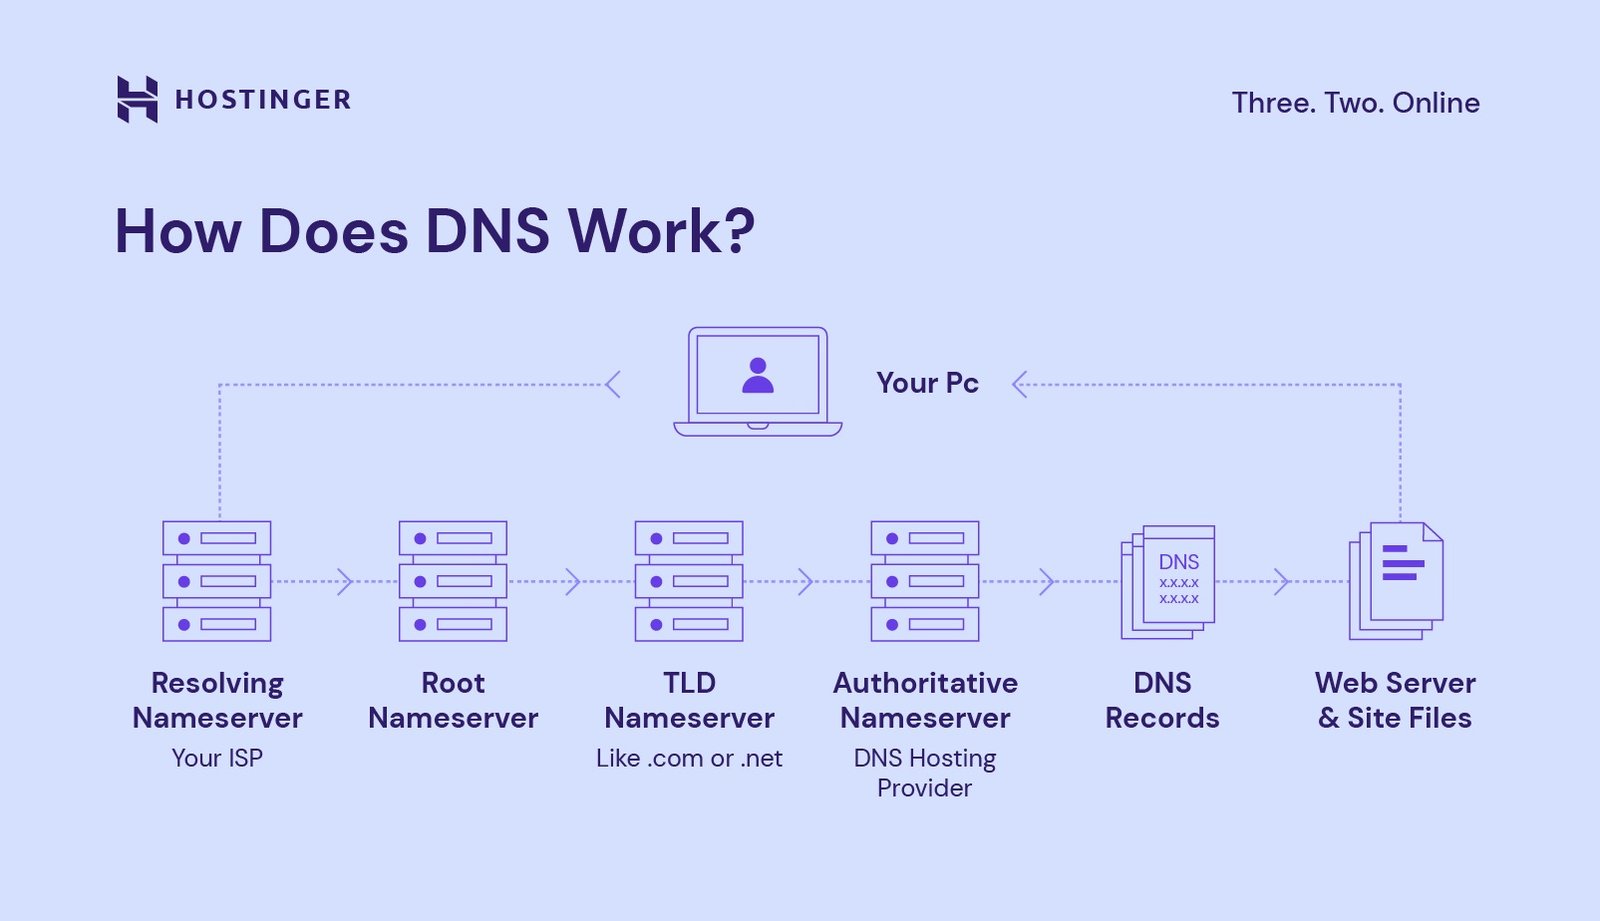
Click Continue after entering your domain. Google will then provide a DNS verification record. In most cases, this is a TXT record that needs to be added to your domain’s DNS settings.
Step 3: Open Your DNS Settings
Now log in to your domain or hosting provider. If your domain is managed through Hostinger, open your Hostinger account and find the DNS or DNS Zone section for your domain.
Look for an option to add a new DNS record.
Select TXT as the record type.
Google will provide a verification value that looks similar to:
google-site-verification=xxxxxxxxxxxx
Copy the complete value provided by Google.
Step 4: Add the Google TXT Record
In your DNS settings, create a new TXT record.
For the Name/Host field, your DNS provider may require @ for the main domain. Some providers may handle the root domain automatically.
In the TXT Value or Content field, paste the verification code supplied by Google.
Save the record after checking the details.
Avoid changing any characters in the verification code. The value must match the code generated by Google.
If you need more information about DNS verification, you can also use this Google Search Console domain verification guide as a reference when setting up ownership verification.
Step 5: Return to Google Search Console
After adding the TXT record, return to Google Search Console.
Click the Verify button.
DNS changes can sometimes take time to become visible. If Google cannot verify your domain immediately, do not panic. Check that the TXT record was entered correctly and wait for the DNS change to become available.
Once Google detects the correct record, your domain will be verified.
Step 6: Submit Your Sitemap
After verification is complete, you can submit your XML sitemap.
A sitemap helps search engines discover important URLs on your website. If you are using WordPress, many SEO plugins can automatically generate a sitemap.
In Google Search Console, open the Sitemaps section and enter the sitemap URL.
A common sitemap address is:
https://example.com/sitemap_index.xml
However, your website may use a different sitemap URL, so check the sitemap generated by your SEO system.
Why Search Console Is Important
Connecting your domain to Google Search Console gives you useful information about your website’s search visibility.
You can monitor clicks and impressions, see which search queries bring visitors, identify indexing problems, and inspect individual URLs.
It is especially useful for new websites because it provides information about how Google discovers and indexes your content.
Final Thoughts
Learning how to connect domain to Google Search Console is a simple but important step for website owners. The process normally involves adding your domain, copying Google’s TXT verification record, adding it to your DNS settings, and completing verification.
Once your domain is verified, take some time to explore Search Console and submit your sitemap. Regularly checking the platform can help you identify technical issues and understand how your website performs in Google Search.
Leave a Reply