

If you need to verify your website, connect an online service, or complete domain authentication, you may be asked to add a TXT record to your domain. If your domain is managed through Hostinger, adding a TXT record is a simple process once you know where to find the DNS settings.
In this guide, you will learn how to add TXT record in Hostinger step by step. You do not need advanced technical knowledge. Just follow the instructions below carefully.
What Is a TXT Record?
A TXT record is a type of DNS record that stores text information connected to your domain. Website owners commonly use TXT records for domain verification, email authentication, security services, and other online platforms.
For example, Google may provide a TXT value when you want to verify ownership of your website. You then need to add that value to your domain’s DNS settings.
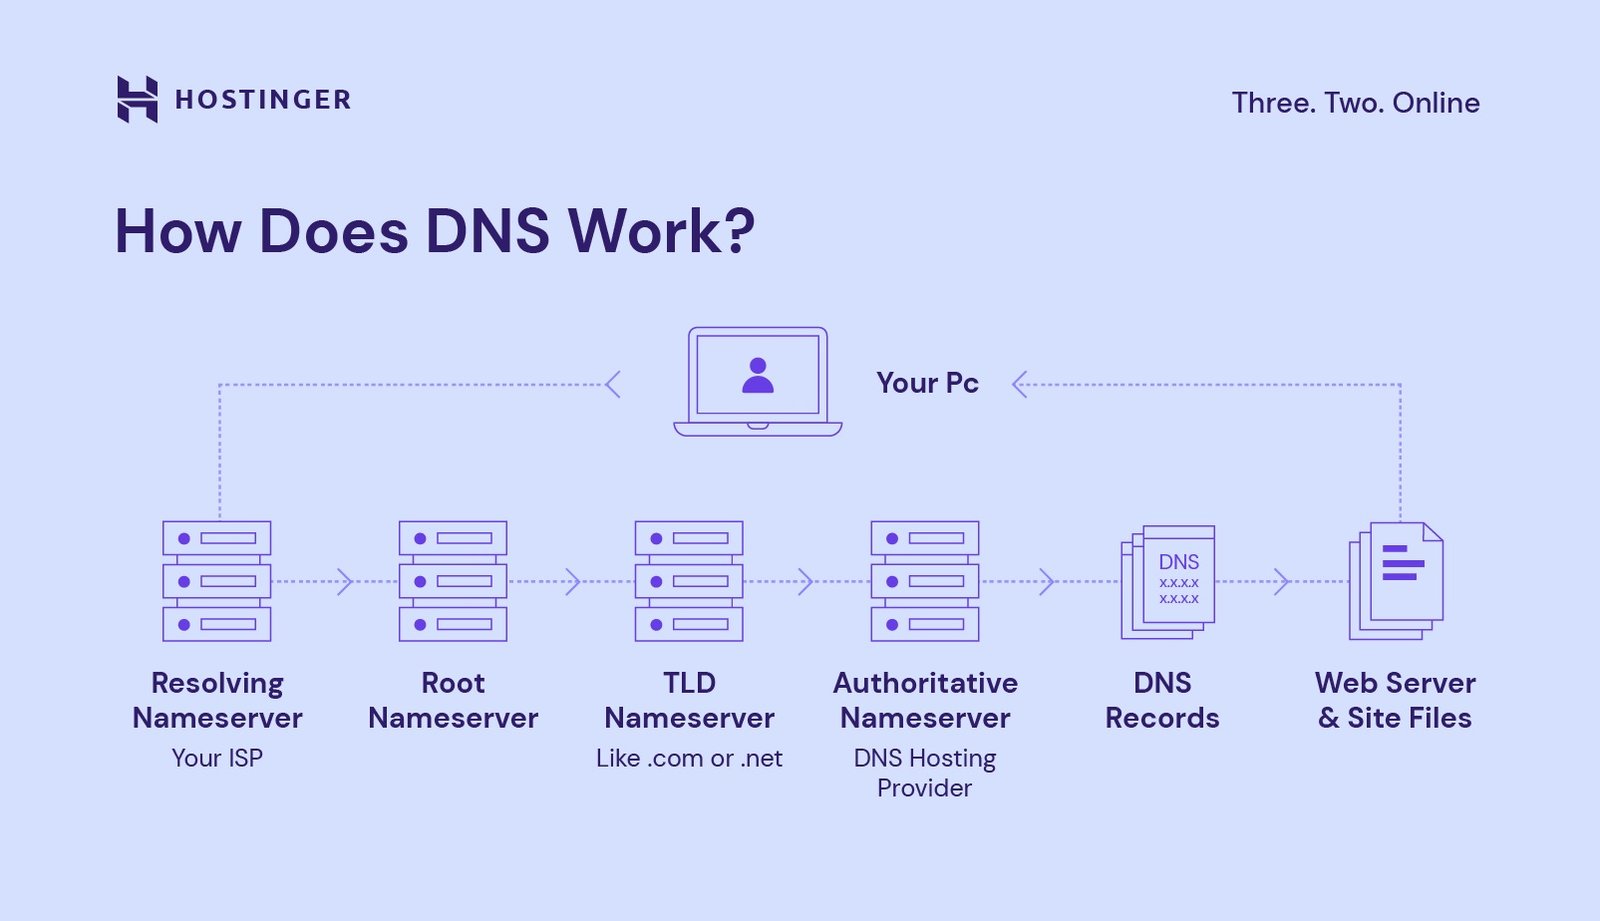
Before making any changes, it can be helpful to understand your DNS records explained so you know what each field means.
What Do You Need Before Adding a TXT Record?
Before you begin, make sure you have:
- Access to your Hostinger account
- The domain you want to configure
- The TXT record provided by the service you are connecting
- The Host or Name value
- The TXT Value or Content
- Access to your domain’s DNS management area
The exact TXT value depends on the service asking you to verify your domain. Do not create your own value unless the service specifically tells you to.
How to Add TXT Record in Hostinger
Follow these steps to add your TXT record.
Step 1: Log In to Hostinger
First, open Hostinger and sign in to your account.
After logging in, go to your hosting or domain management area. Find the domain where you want to add the TXT record.
If you are new to Hostinger, reviewing the Hostinger DNS settings can help you understand where different DNS options are located.
Step 2: Open DNS Management
Select your domain and look for an option such as DNS / Nameservers, DNS Records, or Manage DNS.
Hostinger may update its interface from time to time, so the exact wording or location can vary slightly.
Once you open the DNS management section, you should see a list of existing DNS records.
Step 3: Select TXT Record
Look for the option to add a new DNS record.
Select TXT as the record type.
You will normally see fields such as:
- Type
- Name or Host
- TXT Value or Content
- TTL
The most important fields are the Name/Host and TXT Value.
Step 4: Enter the Host or Name
The service providing the TXT record will usually tell you what to enter in the Name or Host field.
In many domain verification cases, the required host is:
@
The @ symbol normally represents the main domain, also called the root domain.
However, do not automatically enter @ if the service gives you a different host value. Always follow the instructions provided by the service.
Step 5: Enter the TXT Value
Copy the TXT value provided by the service and paste it into the TXT Value or Content field.
A verification value may look similar to:
google-site-verification=example123456
Your actual value will be different.
Make sure you copy the complete value. Avoid adding extra spaces or changing any characters.
Step 6: Save the TXT Record
After entering the required information, click Add Record, Save, or the equivalent button.
Your new TXT record should now appear in the DNS records list.
At this point, the record has been added, but it may not become visible everywhere immediately.
How Long Does a TXT Record Take to Work?
DNS changes can take some time to propagate. In many cases, a new TXT record becomes available relatively quickly, but some services may take longer to detect it.
If your verification fails immediately after adding the record, wait a little while and try again.
Also check that:
- The record type is TXT
- The host/name is correct
- The TXT value is complete
- You added the record to the correct domain
- You did not accidentally add quotation marks or extra spaces
Common TXT Record Mistakes
One of the most common mistakes is entering the wrong value in the Name/Host field. If the verification service says to use @, enter @ unless Hostinger specifically requires a different format.
Another common mistake is copying only part of the verification code. Always copy the entire TXT value.
You should also avoid deleting existing DNS records unless you know exactly what they do. Other records may be required for your website, email, or connected services.
How to Verify the TXT Record
After saving the record, return to the service that requested verification.
For example, if you are completing website ownership verification, go back to the platform and click its verification button.
If the platform cannot find the TXT record yet, wait for DNS propagation and try again.
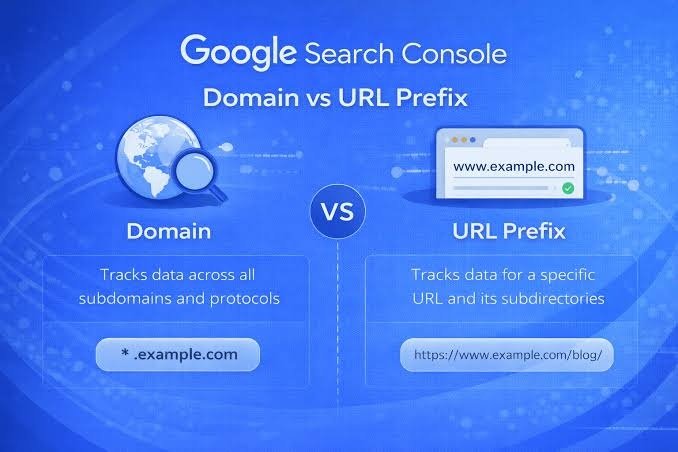
For website owners working with Google, a separate Google Search Console setup guide can also help with the verification process.
Final Thoughts
Adding a TXT record in Hostinger is easier than it may initially seem. You simply need to open your domain’s DNS management area, select TXT, enter the correct Host or Name, paste the verification value, and save the record.
The most important thing is to use the exact information provided by the service requesting verification. If you enter the wrong host or change the TXT value, the verification may not work.
Now that you know how to add TXT record in Hostinger, you can use the same basic process for many domain verification and authentication tasks.

Leave a Reply