
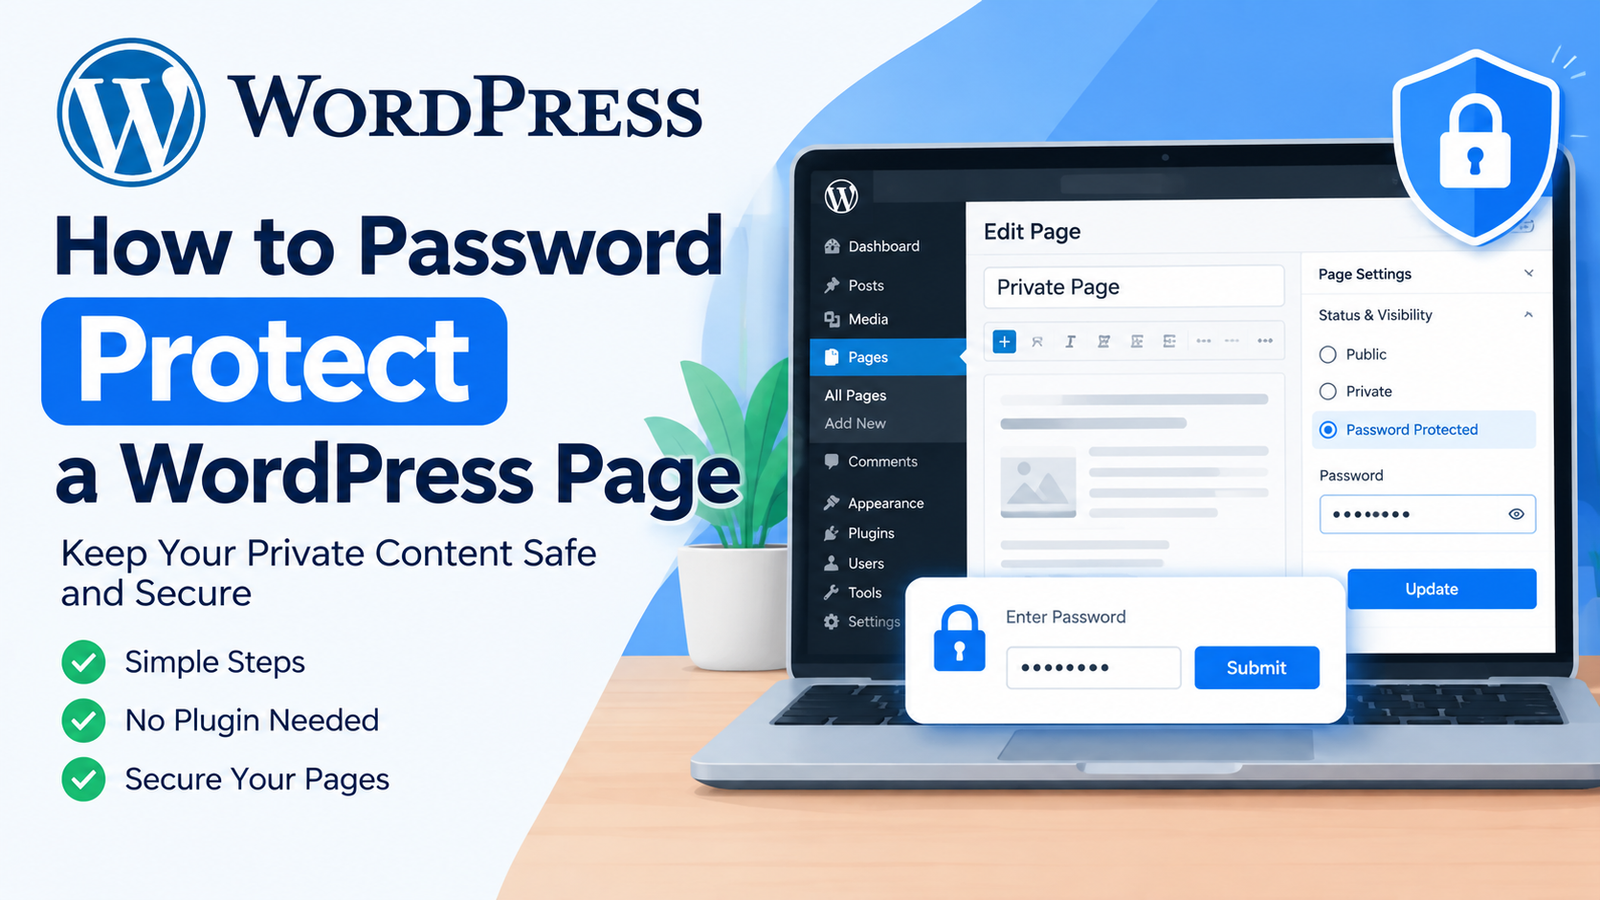
Sometimes you may want to keep a WordPress page private. For example, you might have a members-only page, a private document, a client resource, or content that should only be available to selected people. In these situations, password protection can be a simple solution.
The good news is that WordPress includes a built-in option for protecting individual pages with a password. You do not need to install a plugin or write complicated code.
In this guide, you will learn how to password protect a WordPress page step by step. You will also learn how password protection works and what to check after enabling it.
Why Password Protect a WordPress Page?
Password protection is useful when you do not want everyone to access a specific page. It can be helpful for private information, temporary content, client resources, or pages that are still being prepared.
For example, a website owner can secure private WordPress content by requiring visitors to enter a password before viewing a protected page.
This feature is also useful because you can protect one page without making your entire website private.
How to Password Protect a WordPress Page
WordPress provides a simple visibility setting that allows you to add a password to an individual page.
Follow these steps to protect your page.
Step 1: Log In to Your WordPress Dashboard
First, log in to your WordPress website.
After signing in, you will see the WordPress dashboard. From here, you can manage pages, posts, plugins, themes, and other website settings.
Step 2: Open the Pages Section
From the left side of your dashboard, go to Pages > All Pages.
You will see a list of pages available on your website.
Find the page that you want to protect with a password. You can either open an existing page or create a new page.
Step 3: Open the Page Editor
Click the page title to open it in the WordPress editor.
If you are using the modern WordPress block editor, you will see the page content in the main editing area. You can make any required changes before enabling password protection.
Step 4: Find the Visibility Settings
Look at the page settings on the right side of the editor.
Find the Status & Visibility or Visibility section. You should see options such as Public, Private, and Password Protected.
Select Password Protected.
Step 5: Create a Password
After selecting the password protection option, WordPress will display a password field.
Enter a password that you want visitors to use to access the page.
Choose a password that is difficult for unauthorized people to guess. Avoid using simple passwords such as 123456, your website name, or common words.
Remember that anyone who has the password may be able to view the protected page.
Step 6: Save or Update the Page
After entering the password, click Publish if you are creating a new page.
If you are changing an existing page, click Update.
WordPress will save the password protection settings.
Step 7: Test the Protected Page
Now open the page URL in a private or incognito browser window.
Instead of showing the page content immediately, WordPress should display a password field.
Enter the correct password and submit it. The protected content should then become available.
Testing the page is important because it confirms that the protection is working correctly.
What Happens to the Protected Page?
When a visitor opens a password-protected WordPress page, they will see a password form instead of the page’s normal content.
The visitor must enter the correct password before WordPress displays the page.
The protection applies to that specific page. Other pages on your website can remain publicly accessible.
Can You Password Protect a WordPress Page Without a Plugin?
Yes. For basic page password protection, you usually do not need a plugin.
The built-in WordPress visibility setting provides a convenient way to protect individual pages. This makes it a good option for beginners who want a quick solution without dealing with code.
However, if you need advanced membership features, user-specific access, subscriptions, or different permissions for different users, you may need a dedicated membership or access-control solution.
Tips for Choosing a Strong Password
Use a unique password that is not easy to guess. A combination of uppercase letters, lowercase letters, numbers, and special characters can make the password stronger.
Do not reuse an important personal or account password for a public website page.
If you share the password with clients or team members, use a secure communication method and avoid posting it publicly.
Password Protection vs Private Pages
WordPress also provides a Private visibility option. A private page is different from a password-protected page.
A password-protected page can be accessed by visitors who know the password. A private page is generally intended for authorized logged-in users with the appropriate WordPress permissions.
Therefore, choose password protection when you want to share a page with people using one shared password.
Final Thoughts
Learning how to password protect a WordPress page is simple and does not normally require coding or an additional plugin. WordPress provides a built-in visibility option that lets you protect individual pages with a password.
Simply open the page, change its visibility to Password Protected, create a strong password, save the changes, and test the page.
For basic private content, this is an easy way to control access while keeping the rest of your WordPress website public.


Leave a Reply