
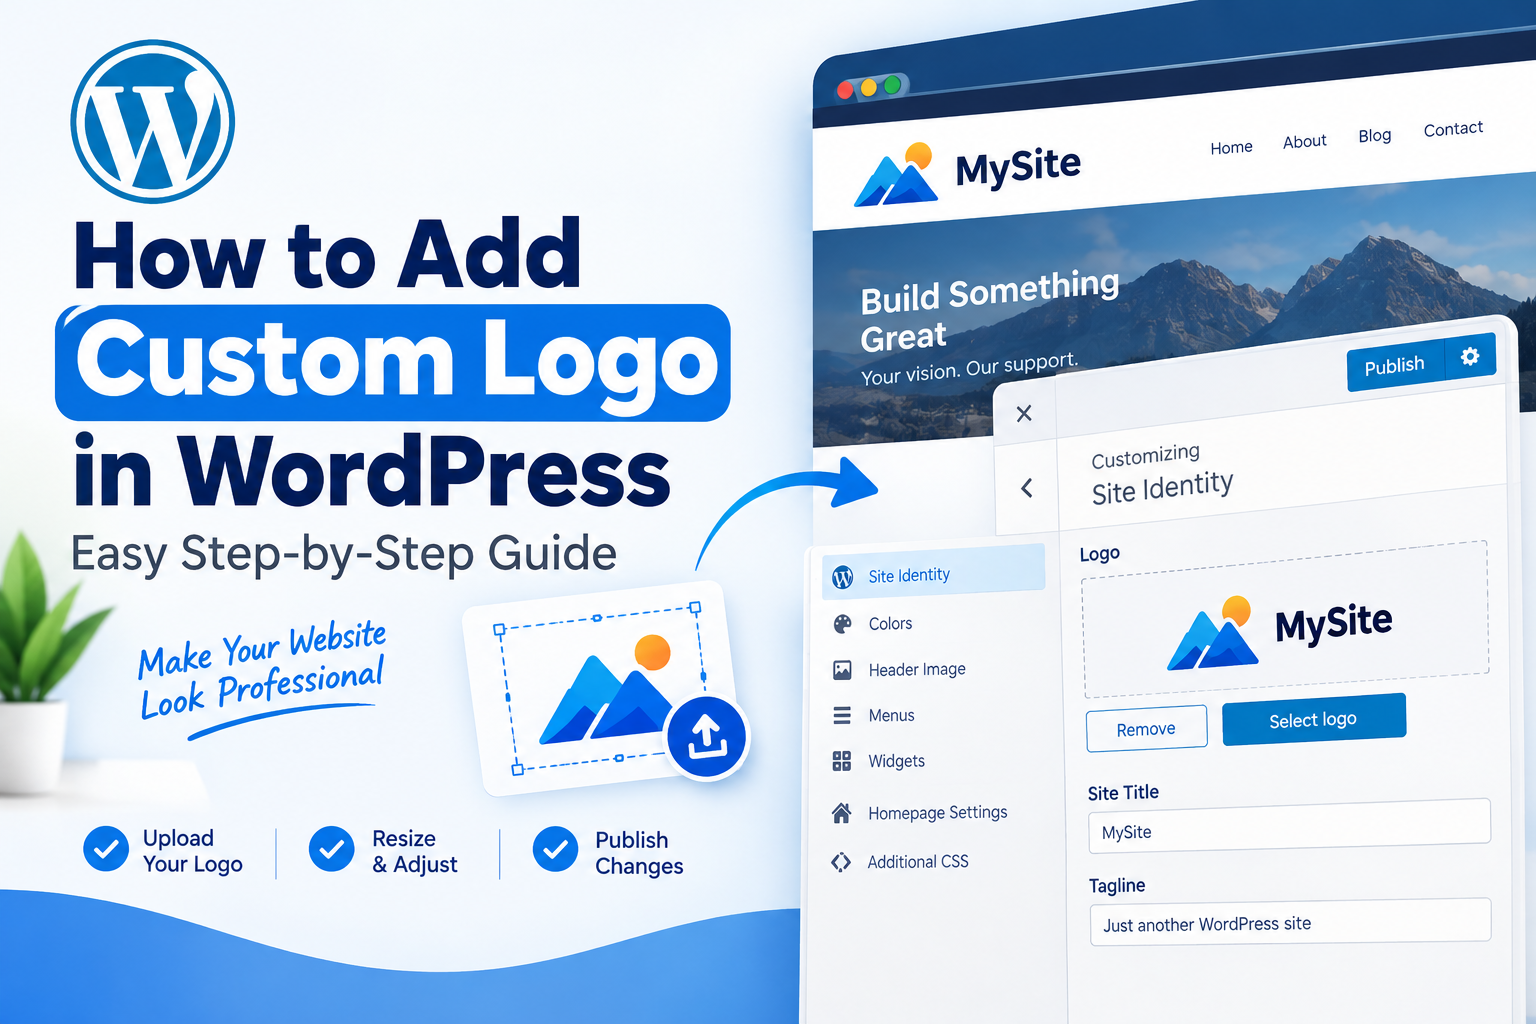
A custom logo helps visitors recognize your website and creates a stronger brand identity. WordPress makes it easy to upload your own logo without editing complicated code. Whether you run a business website, blog, portfolio, or online store, adding a custom logo can make your site look more professional.
If you are wondering how to add custom logo in WordPress, you can usually complete the process through the WordPress Customizer or Site Editor. The exact steps may vary depending on your active theme.
Why Add a Custom Logo to WordPress?
A website logo is more than just an image. It represents your brand and helps visitors identify your website. Using a custom logo also gives you more control over the appearance of your header.
There are several reasons to add your own logo:
- It creates a professional appearance.
- It improves brand recognition.
- It makes your website look unique.
- It can replace the default theme branding.
- It helps create consistent visual identity.
- It works across your website header and other areas.
Before uploading your logo, make sure the image is clear and has suitable dimensions. A transparent PNG is often a good choice for website headers because it can work well with different backgrounds.
How to Add Custom Logo in WordPress Using Customizer
Many classic WordPress themes allow you to add a custom logo through the Customizer.
Step 1: Log In to Your WordPress Dashboard
Start by logging in to your WordPress admin dashboard.
Once you are inside the dashboard, look at the menu on the left side of the screen. This menu contains the options you need to manage your website.
Step 2: Open Appearance
Go to Appearance from the dashboard and click Customize.
The Customizer allows you to change different parts of your website while seeing a preview of the changes.
If you do not see the Customize option, your theme may use the newer WordPress Site Editor instead.
Step 3: Open Site Identity
Inside the Customizer, look for Site Identity.
This section commonly includes settings for your website title, tagline, logo, and site icon.
Click the Select Logo button to begin adding your custom logo.
Step 4: Upload Your Custom Logo
A media window will appear. You can choose an image that is already available in your Media Library or upload a new logo from your computer.
Click Upload Files and select your logo.
Choose a high-quality image that clearly represents your brand. After the upload finishes, select the logo and click the button to add it to your website.
Step 5: Crop or Adjust the Logo
WordPress may ask you to crop the logo after selecting it.
If your logo already has the correct dimensions, you can usually skip unnecessary cropping. Make sure important parts of the logo are not cut off.
Some themes also allow you to adjust the logo width. Use the preview to find a size that looks good on both desktop and mobile devices.
Step 6: Publish Your Changes
After adding the logo, check the live preview carefully.
Look at the header, navigation menu, and overall spacing. If everything looks correct, click Publish.
Your custom logo should now appear on your WordPress website.
How to Add a Custom Logo With the Site Editor
If you are using a block-based WordPress theme, the process may be slightly different.
Go to Appearance and select Editor. Open the area that contains your website header.
Look for the Site Logo block. Click it and select or upload your custom logo.
After choosing the image, you can adjust its size and position if your theme provides those controls.
When you are satisfied with the result, click Save.
The Site Editor gives you more control over modern block themes, so the available options may differ from those found in the traditional Customizer.
Tips for Choosing a Custom Logo
A good logo should look clear at different sizes. Avoid using an extremely large image because it can increase the file size of your website.
Keep these tips in mind:
- Use a high-quality logo.
- Choose suitable dimensions.
- Use a transparent background when appropriate.
- Compress large image files.
- Check the logo on mobile devices.
- Keep the design simple and recognizable.
- Use colors that match your website branding.
For a consistent custom WordPress branding setup, use the same logo style across your website and other online platforms.
What If Your Custom Logo Does Not Appear?
If your new logo does not appear after publishing, first refresh your website.
You can also open the website in a private browser window. If you use a caching plugin, clear the cache and check the website again.
If the logo still does not appear, check whether your theme uses a separate header builder or custom logo setting. Some themes have their own theme options for controlling the header.
Final Thoughts
Adding a custom logo is a simple way to improve your WordPress website’s branding. You can usually upload your logo through the Customizer or Site Editor without touching any code.
Choose a clear image, adjust its size carefully, check the mobile version, and publish the changes. With these simple steps, your WordPress website can have a professional logo that represents your brand effectively.
Leave a Reply