
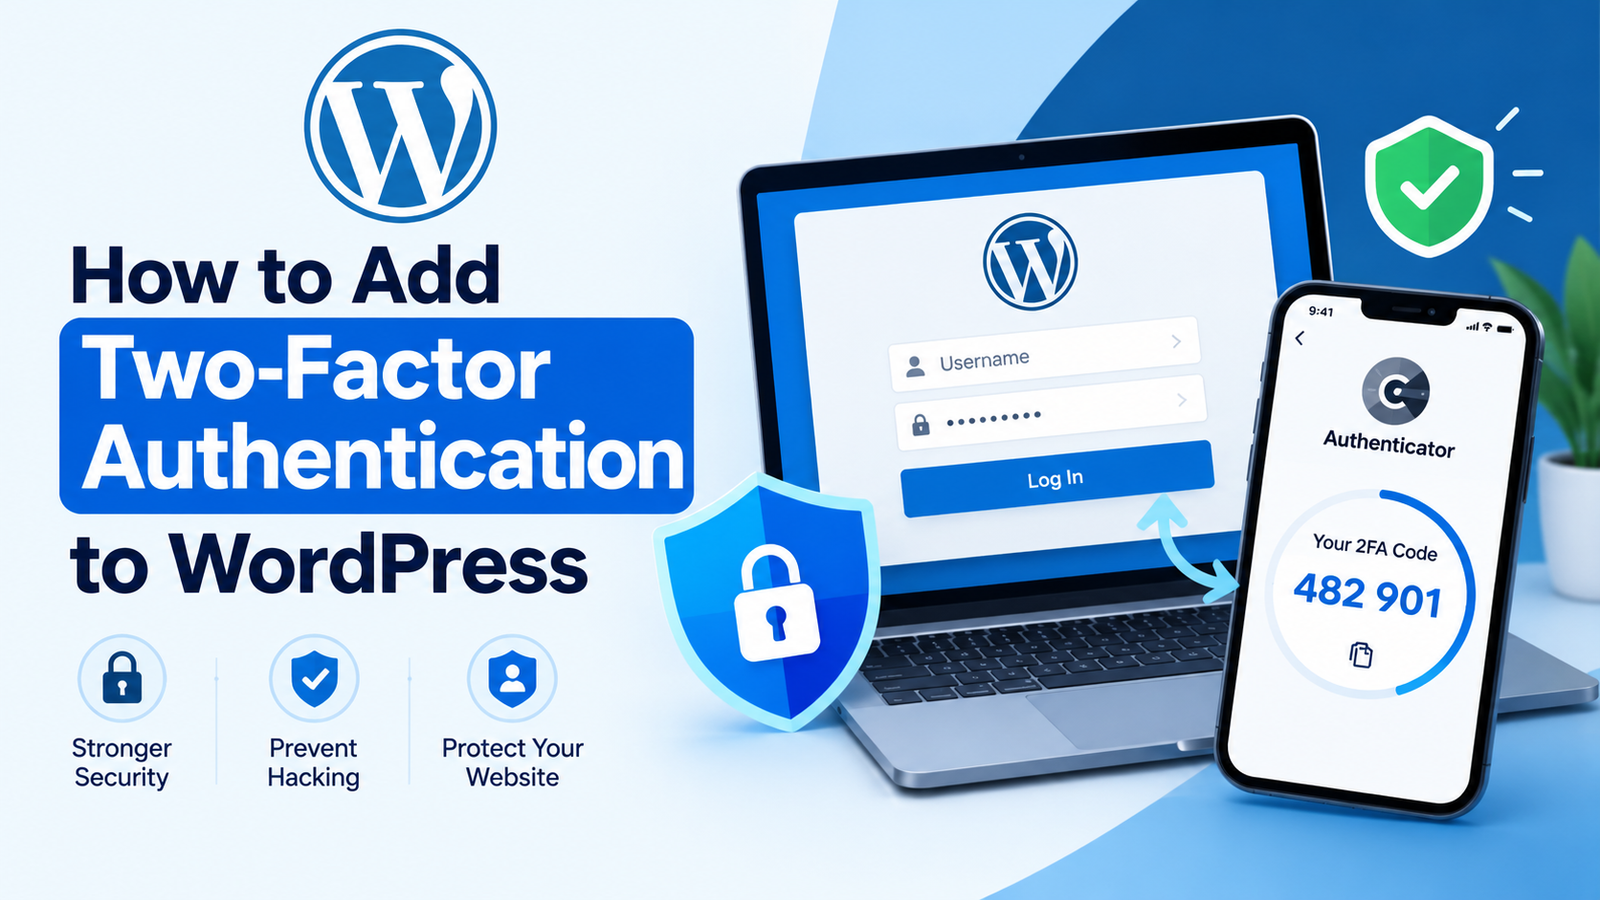
WordPress websites are common targets for hackers because they power millions of websites worldwide. A strong password is important, but it may not be enough to protect your WordPress admin account. Two-factor authentication (2FA) adds an extra security step when you log in. It requires something more than your username and password, making unauthorized access much harder.
In this guide, you will learn how to add two-factor authentication to WordPress using a security plugin. The process is simple and does not require advanced technical knowledge.
What Is Two-Factor Authentication?
Two-factor authentication is a security method that requires two forms of verification before allowing access to an account.
Normally, you log in to WordPress using your username and password. With 2FA enabled, WordPress also asks for a temporary security code generated by an authentication app or another supported method.
Even if someone discovers your password, they will usually need the second authentication factor to access your account.
Why Should You Use 2FA on WordPress?
Adding two-factor authentication can significantly improve the security of your WordPress website. Password attacks are one of the common methods hackers use to gain unauthorized access.
2FA provides an additional security layer and helps protect your administrator account.
Some important benefits include:
- Protects your WordPress login
- Reduces the risk of password-based attacks
- Helps prevent unauthorized account access
- Adds an extra security layer
- Protects important website settings
- Works with many popular security plugins
For websites with multiple administrators, 2FA can be especially useful because every user can secure their own account.
Step 1: Choose a WordPress Security Plugin
The easiest way to add 2FA to WordPress is by using a security plugin. Many WordPress security plugins support two-factor authentication.
From your WordPress dashboard, go to:
Plugins → Add New Plugin
Search for a trusted security plugin that supports 2FA. Check its features, compatibility, ratings, and update history before installing it.
Once you have selected a suitable plugin, click Install Now and then click Activate.
Step 2: Open the Plugin Security Settings
After activating the plugin, open its settings from your WordPress dashboard.
The exact menu name depends on the plugin you installed. Look for options such as Two-Factor Authentication, 2FA, Login Security, or User Security.
Open the two-factor authentication section to begin the setup.
Step 3: Enable Two-Factor Authentication
Most 2FA plugins allow you to enable authentication for individual users or specific user roles.
If you are the website administrator, enable 2FA for your administrator account first.
Depending on the plugin, you may see different authentication methods. An authentication app is one of the most common options.
After selecting your preferred method, the plugin may display a QR code.
Step 4: Connect an Authenticator App
Install an authenticator app on your smartphone if you do not already have one.
Open the app and choose the option to add a new account. Scan the QR code displayed by your WordPress security plugin.
The app will then generate a temporary six-digit security code. Enter this code into the WordPress setup screen.
If the code is correct, your authenticator app will be connected to your WordPress account.
Step 5: Save Backup Codes
Many 2FA solutions provide backup or recovery codes. These codes can help you access your account if you lose your phone or cannot use your authenticator app.
Store your backup codes in a secure location. Do not publish them or share them with anyone.
If your plugin provides a downloadable or printable backup-code option, use it and keep the codes somewhere safe.
Step 6: Test Your WordPress Login
After completing the setup, log out of your WordPress dashboard.
Return to the WordPress login page and enter your username and password.
After your password is accepted, WordPress should ask for your two-factor authentication code.
Open your authenticator app and enter the current code. If everything is configured correctly, you should successfully enter your WordPress dashboard.
Testing the login immediately is important because it confirms that your 2FA settings are working.
Tips for Using WordPress 2FA Safely
For better protection, follow a few basic security practices. Use a strong and unique WordPress password along with 2FA. Keep your WordPress core, themes, and plugins updated.
You should also remove unused administrator accounts and give users only the permissions they need.
[Secure Your WordPress Login With 2FA] by using an authenticator app and keeping your recovery codes safe.
Never share authentication codes with another person. If you receive an unexpected login request or security notification, review your account immediately.
Conclusion
Learning how to add two-factor authentication to WordPress is one of the easiest ways to improve website security. With a suitable security plugin and an authenticator app, you can add another layer of protection to your WordPress login.
2FA does not replace strong passwords, regular updates, backups, and other security measures. Instead, it works alongside them to make your website more difficult to compromise.
Set up two-factor authentication for your administrator account first, test the login process, and then consider enabling it for other users who have access to important WordPress settings.



Leave a Reply