
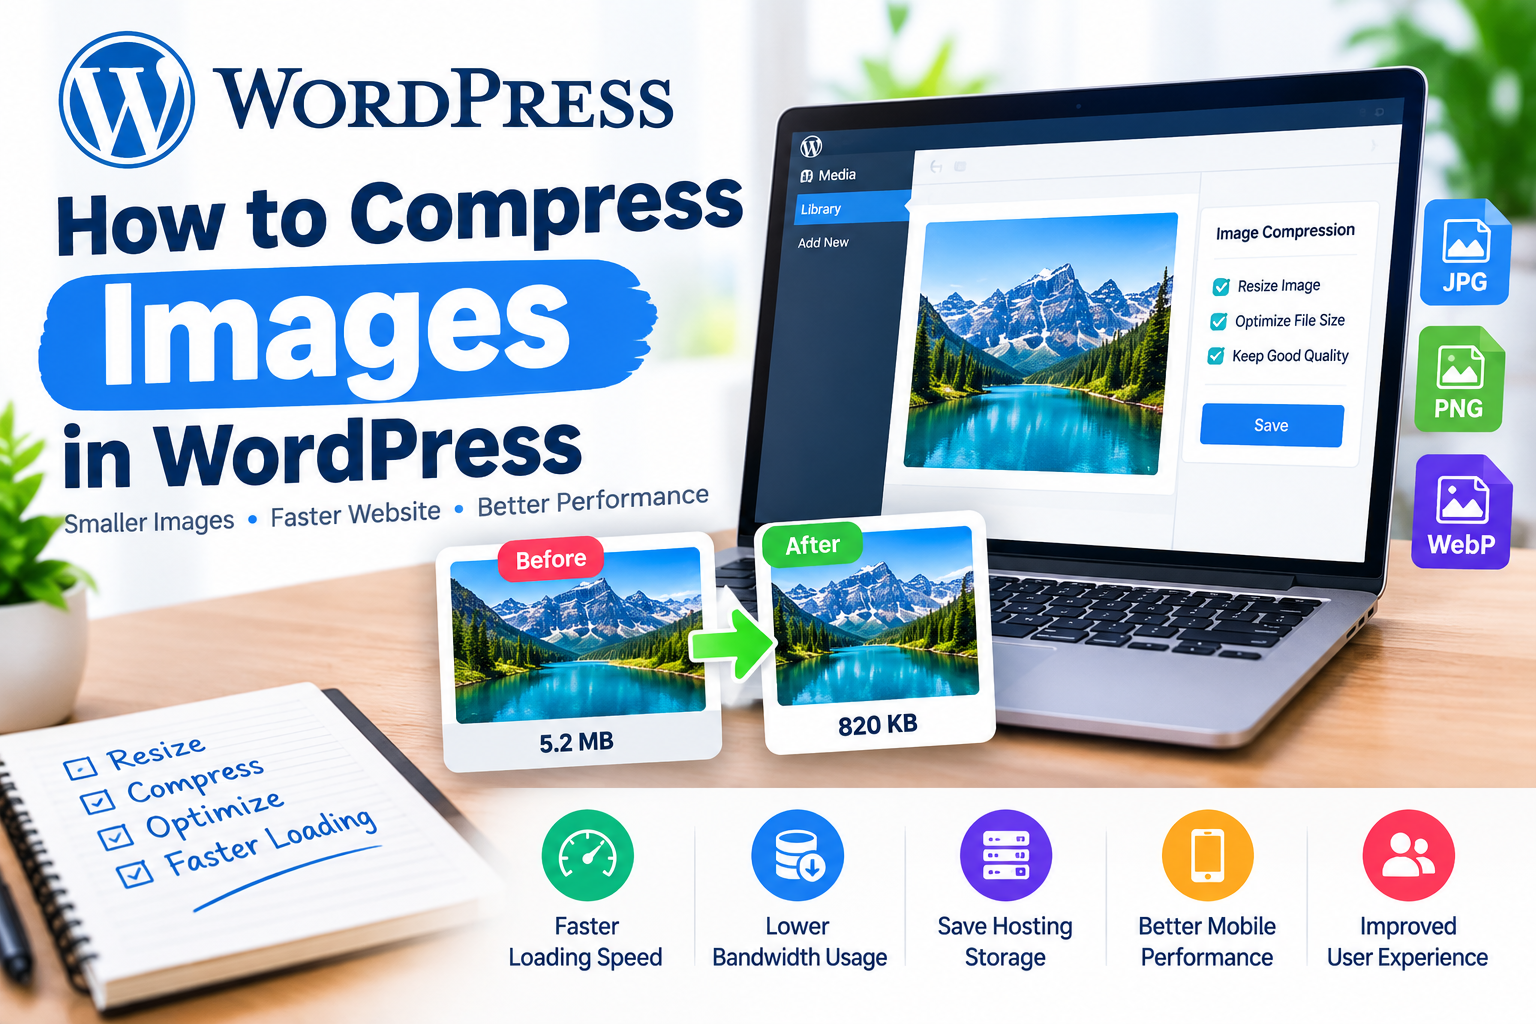
Images make a WordPress website more attractive, but large image files can also slow down your pages. When visitors have to wait for images to load, they may leave your website. Large images can also use more storage and bandwidth.
Learning how to compress images in WordPress can help you reduce image file sizes while keeping good visual quality. The process is simple, and you can use WordPress plugins or online tools to optimize your images.
In this guide, you will learn several easy ways to compress images and improve your website’s performance.
Why Should You Compress Images in WordPress?
Uncompressed images can be much larger than necessary. For example, a single high-resolution photo can be several megabytes in size. If a page contains many large images, the total page size can become very high.
Image compression reduces the file size without significantly affecting the appearance of the image. Smaller images can load faster and provide a better experience for visitors.
Image compression can also help you:
- Improve page loading speed
- Reduce bandwidth usage
- Save hosting storage
- Improve mobile performance
- Create a better user experience
- Support better website performance
Choose the Right Image Format
Before compressing an image, choose a suitable file format. JPEG is commonly used for photographs because it can provide good quality at a smaller file size.
PNG is useful when you need transparency or sharper graphics. However, PNG files can sometimes be larger than JPEG files.
Modern formats such as WebP and AVIF can provide smaller file sizes while maintaining good image quality. Many WordPress image optimization plugins can automatically create these formats for your website.
Resize Images Before Uploading
One of the easiest ways to reduce image size is to resize the image before uploading it to WordPress.
If your website only displays an image at 1200 pixels wide, there is usually no need to upload a 5000-pixel-wide image. A larger image contains more data and can increase the file size.
Use an image editor or image optimization tool to resize your images to an appropriate dimension.
For blog posts, choose dimensions that fit your website layout. This can reduce unnecessary file size before compression even begins.
Compress Images Before Uploading
Another useful method is to compress images before uploading them to WordPress. Many online image compression tools allow you to upload an image and download a smaller version.
This method is useful if you only have a few images to optimize. After compression, upload the smaller image to your WordPress Media Library.
Always check the image quality after compression. An image should remain clear and professional instead of looking blurry or heavily pixelated.
Use a WordPress Image Compression Plugin
If you regularly publish content, a WordPress image optimization plugin can make the process easier.
Many image compression plugins can automatically optimize images when you upload them. Some can also compress images that are already stored in your Media Library.
Depending on the plugin, you may find features such as:
- Automatic image compression
- Bulk image optimization
- WebP conversion
- Image resizing
- Lazy loading
- Backup of original images
Before installing a plugin, check that it is compatible with your WordPress version and theme.
Compress Existing Images
If your website already contains many large images, you do not need to replace them manually one by one.
Some WordPress optimization plugins offer a bulk optimization feature. This allows you to scan your Media Library and compress multiple images.
Before using bulk compression, create a website backup. This gives you a recovery option if an image does not look correct after optimization.
You can also use website image speed checklist resources to review other image-related performance improvements.
Enable WebP Images
WebP is a modern image format that can reduce image file size while maintaining good quality. WordPress websites can use WebP images with the help of compatible plugins and hosting configurations.
Many optimization plugins can automatically generate WebP versions of your existing JPEG and PNG images.
If your plugin provides this feature, enable it and test your website afterward. Make sure images continue to display correctly on desktop and mobile devices.
Use Lazy Loading
Lazy loading can help improve the initial loading speed of pages that contain many images.
With lazy loading, images that are outside the visitor’s immediate screen area can wait to load until the visitor scrolls closer to them.
Modern WordPress versions support lazy loading for many images automatically. However, some performance plugins provide additional controls.
Avoid adding unnecessary lazy-loading settings if your website already handles them correctly.
Check Image Quality After Compression
Compression should reduce file size without making images look poor.
After compressing your images, open your important pages and check them carefully. Look at featured images, product images, thumbnails, and images inside articles.
If an image looks blurry, increase its quality or use a less aggressive compression setting.
The goal is to find a balance between image quality and file size.
Avoid Uploading Unnecessary Images
Image compression is useful, but removing unnecessary images can reduce page size even more.
Before uploading an image, ask whether it adds value to the article. Avoid using multiple large images when one well-designed image can explain the topic.
Also remove unused media when appropriate. However, check where an image is being used before deleting it from your Media Library.
Final Thoughts
Learning how to compress images in WordPress is an important step toward creating a faster and more user-friendly website. You can resize images, choose the right format, compress files before uploading, or use a WordPress optimization plugin.
For websites with many images, automatic compression and modern formats such as WebP can save time. Always check image quality after optimization and keep a backup before performing large-scale changes.
By using properly sized and compressed images, you can reduce unnecessary file sizes and give visitors a smoother browsing experience.
Leave a Reply