
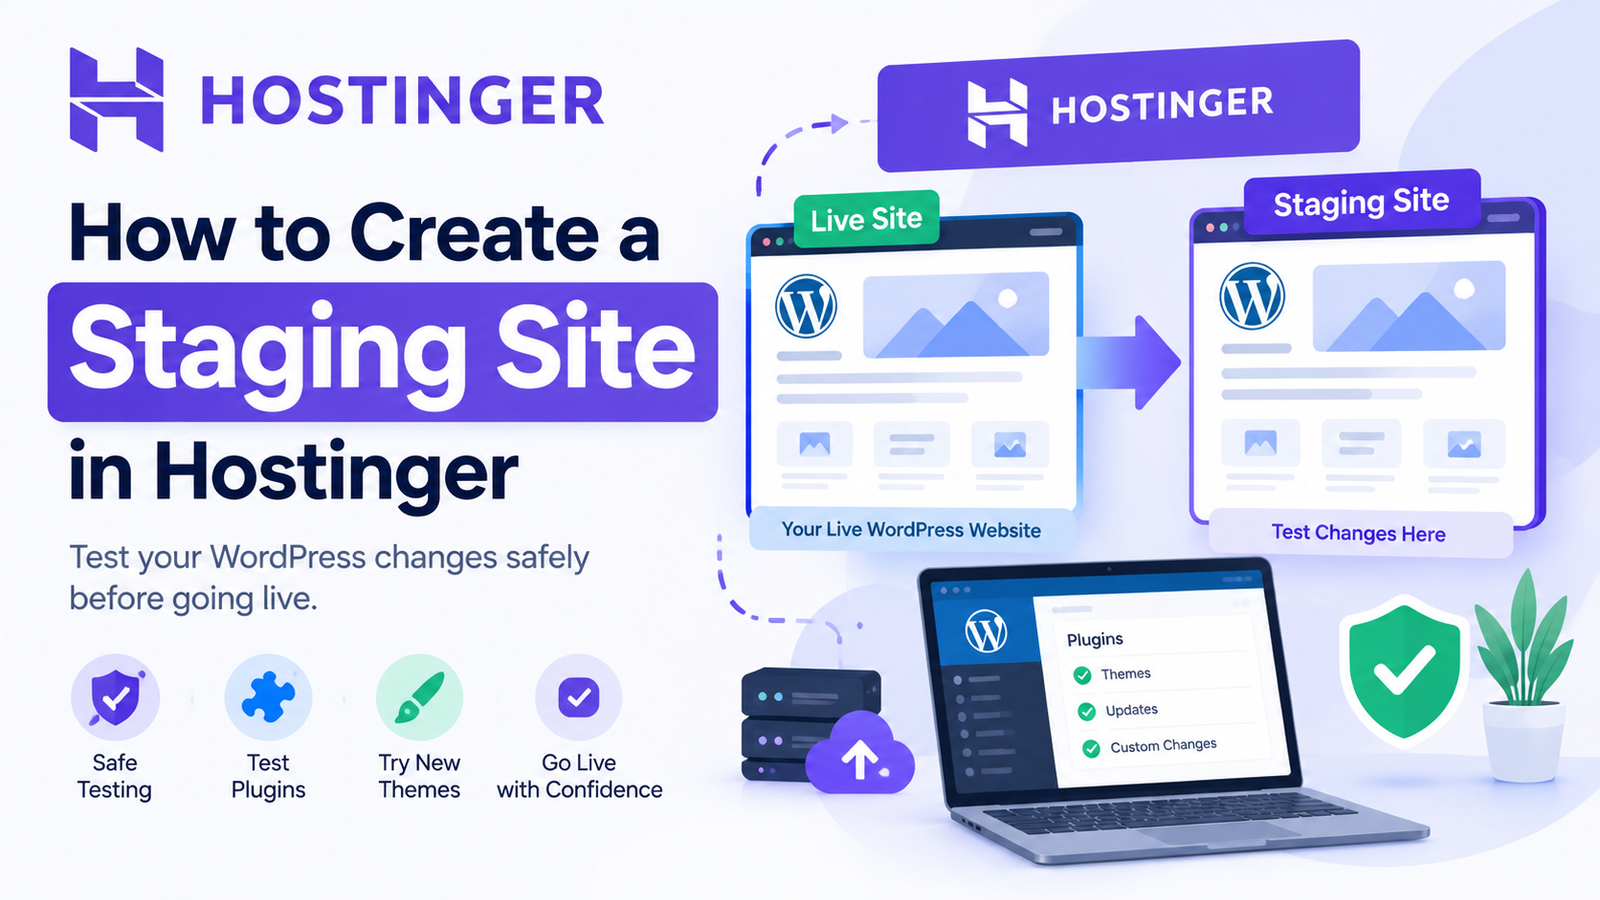
Making changes directly to a live website can be risky. A small mistake in a theme, plugin, custom code, or website setting can cause errors for visitors. A staging site gives you a safe environment where you can test changes before applying them to your live website.
If your website is hosted with Hostinger, you can create a staging version of your WordPress website and use it to test updates and design changes. In this guide, you will learn how to create a staging site in Hostinger step by step.
What Is a Staging Site?
A staging site is a private copy of your live website. It contains similar files, themes, plugins, and content as your main website.
You can use this copy to test changes without affecting your live visitors.
For example, if you want to update a WordPress theme, install a new plugin, or make major design changes, you can test everything on the staging website first.
If the changes work correctly, you can apply them to your live website.
Why Use a Staging Site?
A staging environment is useful for website owners, bloggers, developers, and businesses.
Some important benefits include:
- Test WordPress updates safely
- Check new plugins before using them
- Test theme changes
- Experiment with website designs
- Find errors before visitors see them
- Reduce the risk of breaking your live website
- Test custom code in a separate environment
A staging site can save time because you can identify problems before making changes to your production website.
Step 1: Log In to Hostinger
First, open the Hostinger website and log in to your hosting account.
After logging in, open your hPanel dashboard. You will see your hosting plans and websites.
Select the website or hosting plan where your WordPress website is installed.
The exact location of options may vary depending on your Hostinger plan and the current hPanel interface.
Step 2: Open Your WordPress Website Tools
From hPanel, find the section related to your WordPress website.
Look for WordPress management or website tools. Depending on your hosting setup, you may see an option related to Staging, WordPress Staging, or a similar feature.
Open the staging option to start creating a copy of your website.
If you cannot find the staging feature, check whether your current hosting plan supports WordPress staging.
Step 3: Create a Staging Environment
After opening the staging section, choose the option to create a new staging environment.
Hostinger may ask you to select the website or installation that you want to copy.
Select your live WordPress website and continue.
The system will create a separate version of your website. This process may take some time depending on the size of your website.
Avoid making unnecessary changes while the staging environment is being created.
Step 4: Access Your Staging Website
Once the staging site has been created, Hostinger will provide access to the staging environment.
The staging website usually has a separate address or temporary URL so that you can access it without changing your live website.
Open the staging website and log in to WordPress if required.
Before making changes, check that important pages, images, menus, plugins, and other website elements are available.
Step 5: Test Your Changes
Now you can safely experiment with your website.
For example, you can update a WordPress plugin, change your theme settings, add custom CSS, or test a new feature.
After every major change, check your website carefully.
Visit important pages and test your navigation, forms, buttons, images, menus, and other interactive features.
If something goes wrong, you can troubleshoot the problem without immediately affecting your live website.
Step 6: Push Changes to the Live Website
After testing your changes, you may have an option to push or copy the staging changes to the live website.
Before doing this, create a fresh backup of your live website if possible.
Review the changes carefully and make sure everything works correctly.
Remember that pushing changes can overwrite existing content or files on the live website, depending on the available staging options. Always review the available settings before confirming.
Best Practices for Hostinger Staging
Use your staging website whenever you are making major changes to your WordPress installation.
Keep the staging environment updated and remove unnecessary plugins or test content. Avoid using real customer information or sensitive data on a test website.
It is also a good idea to create a backup before pushing major changes to your live website.
[Test WordPress Changes Safely on Hostinger] before publishing major updates to your visitors.
Conclusion
Learning how to create a staging site in Hostinger can make WordPress management much safer. Instead of testing major changes directly on your live website, you can use a separate staging environment.
You can test plugins, themes, designs, updates, and custom changes without immediately putting your live website at risk. Once everything works correctly, you can move the approved changes to your production website.
For WordPress website owners, using staging before major updates is a simple and effective way to reduce errors and maintain a more reliable website.


Leave a Reply